
Overview
Firebase is simple but great backend for flutter apps. Firebase is now a product of Google which comes with countless of features such as authentication, firestore and real time database. Dart and flutter framework is also from Google hence it has official support for Firebase with FluterFire set of libraries.
The initial setup of flutter app integration with Firebase is simple and seamless. In this tutorial we will learn how to integrate Firebase backend with a flutter app.
So let’s begin…

To begin we need to create a flutter app. To create a flutter app simply enter the following command in VS code terminal
#flutter create <appName>

flutter create flutterApp
Now it is time to do the configuration for Firebase and connect the app with Firebase backend.
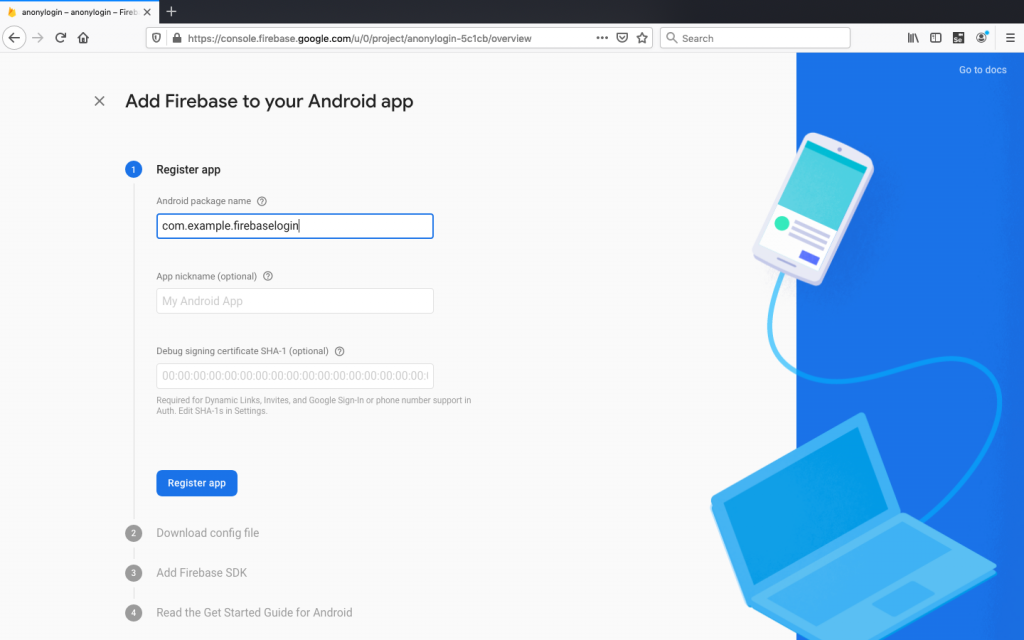
Step1: Registration app
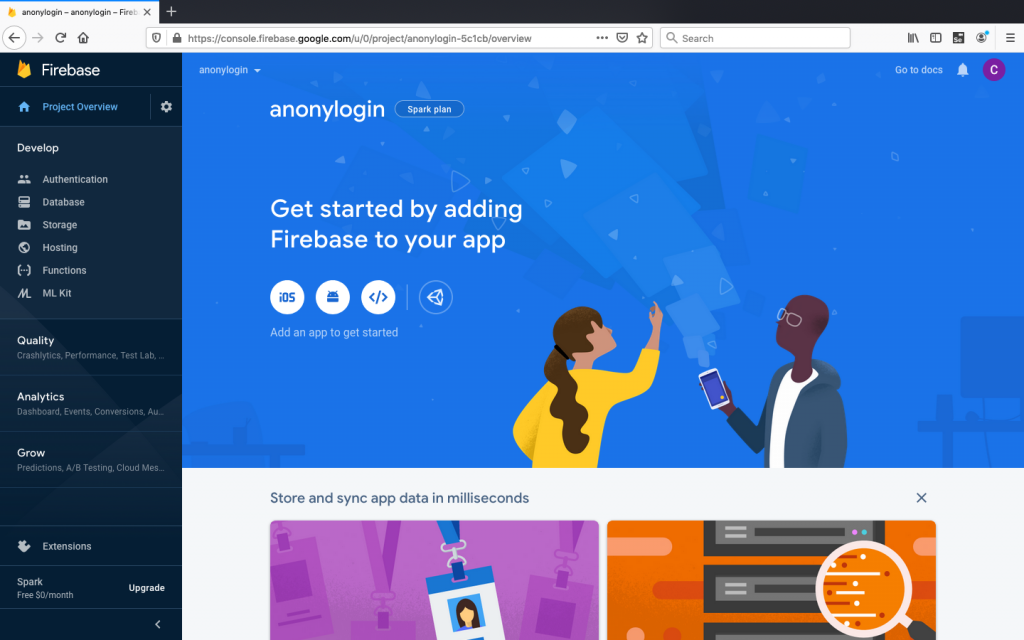
Go to Firebase console.
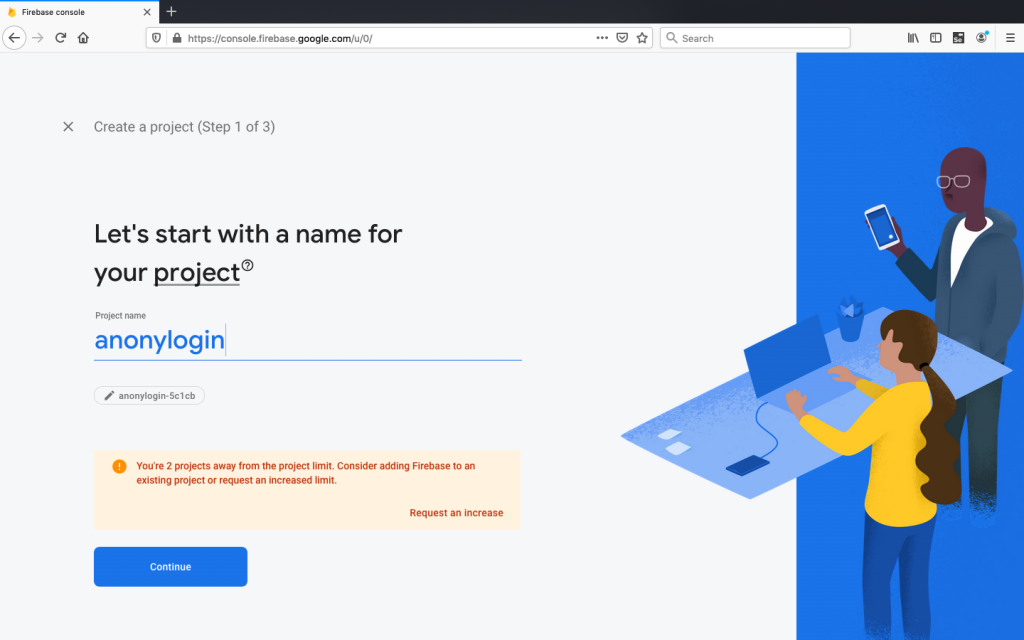
In Firebase dashboard, select Create new project and give a name for your project.
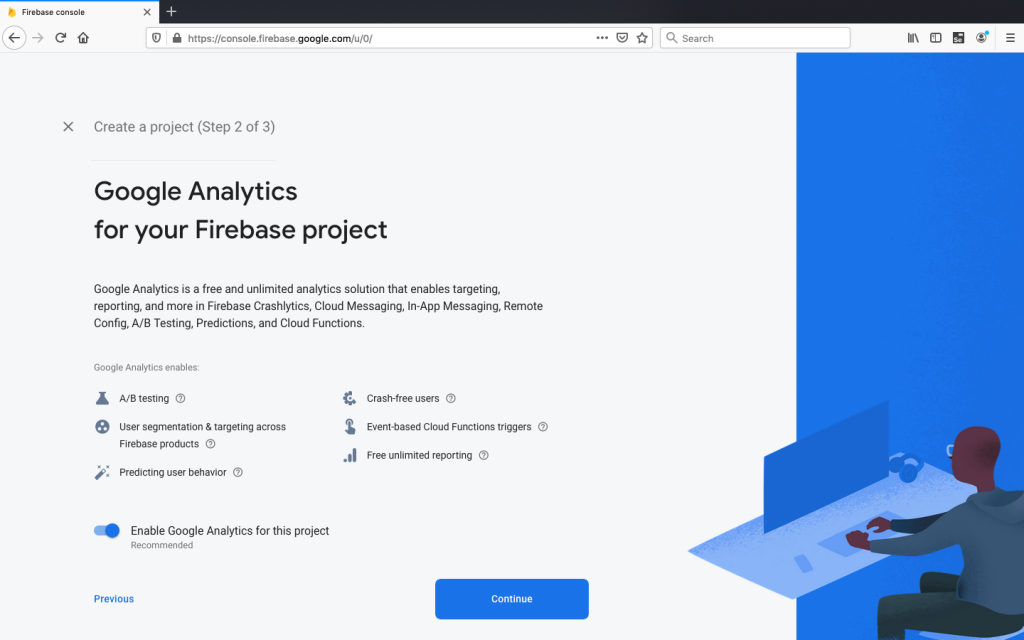
Firebase asks for analytics. For this project we will not enable Google analytics. Now select Create Project
Firebase will continue the process in the background and make the project ready for us.
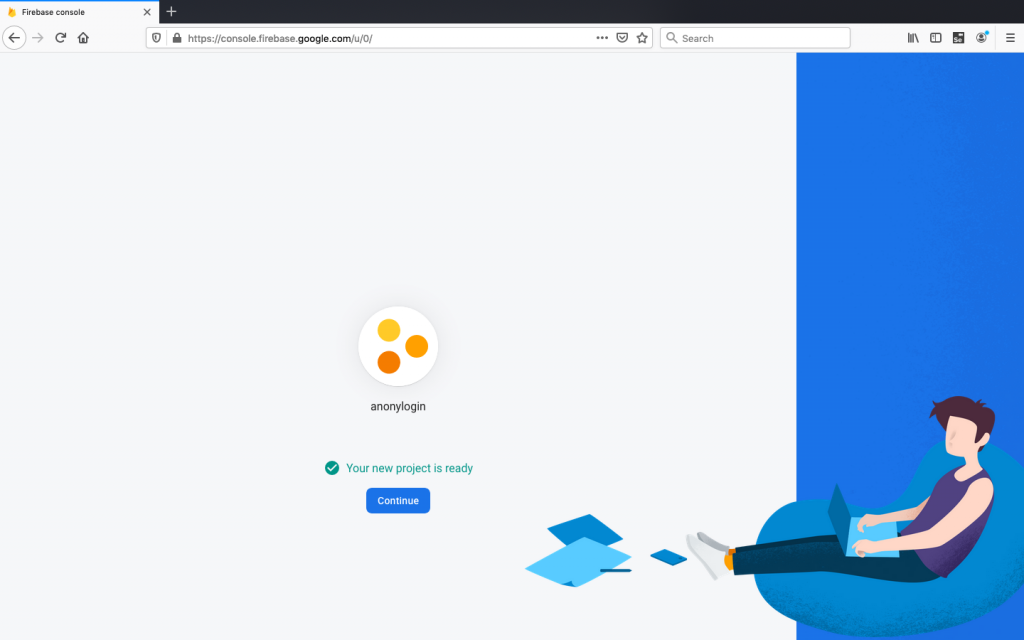
Click Continue and then go back to Firebase dashboard. Select any app either iOS or Android. In this case, we will start with android app and will go for iOS later.
Now go to your project in VS code. Navigate to android/app/build.gradle. You can see the applicationId similar as com.example.firebaselogin.
You can also find the name in AndroidManifest.xml file in android folder.
Android package name and the applicationId must be same. Simply add same name for your project. It is very important. Remember that! We will leave app nickname as blank for simplicity then Register app.
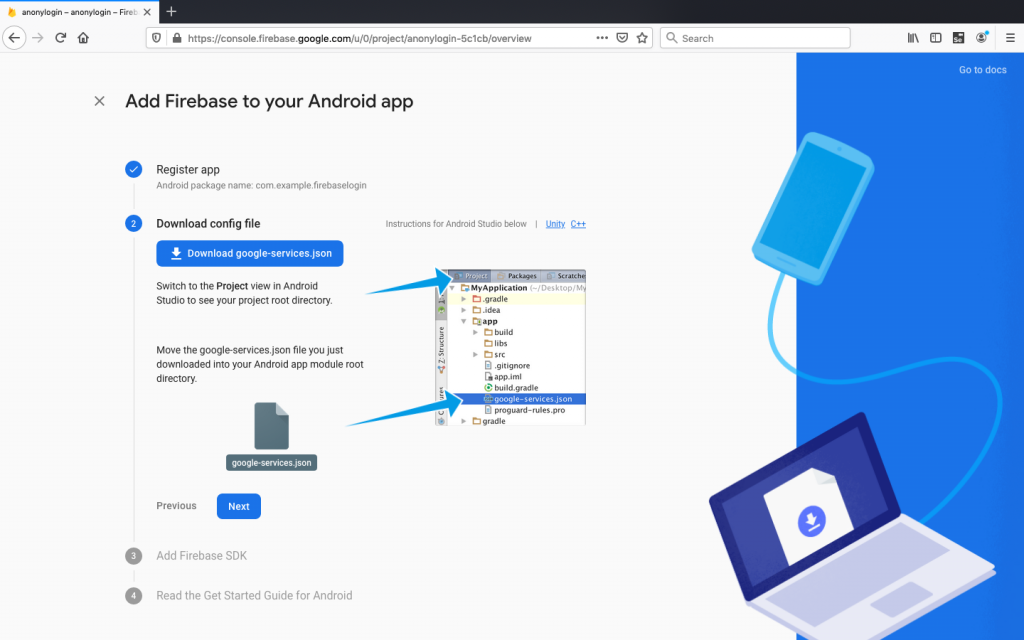
Step 2: Downloading config file
Now download config file and then store it in the flutter app. The location is important as it has API keys and other important information for Firebase to use. Location: ~flutter app/android/app folder.
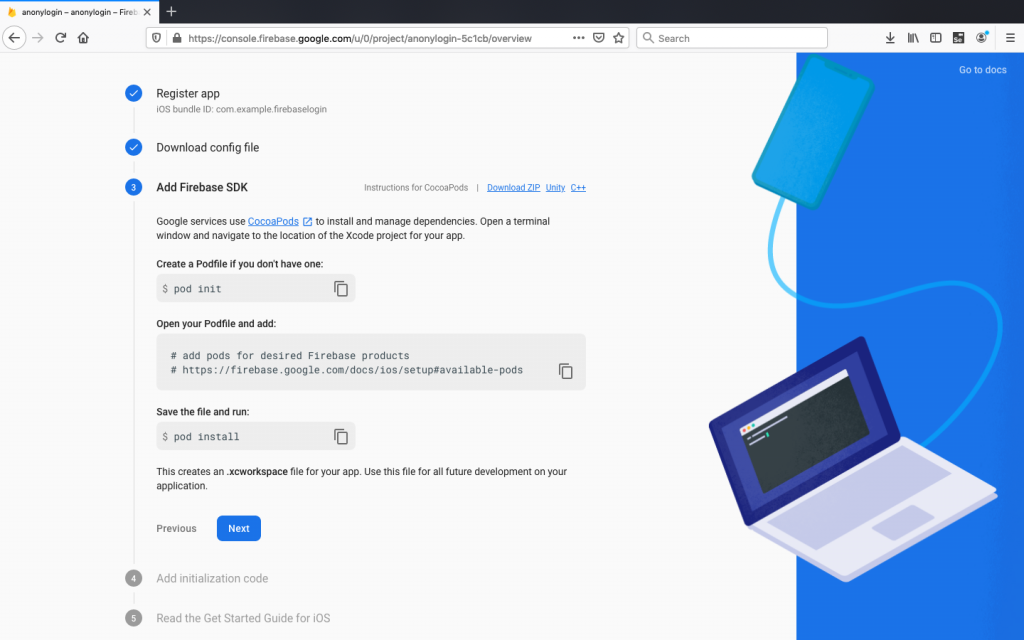
Now it is time to add Firebase SDK. Modify build.gradle file to add classpath. Remember to open project-level build gradle (<project>/build.gradle)
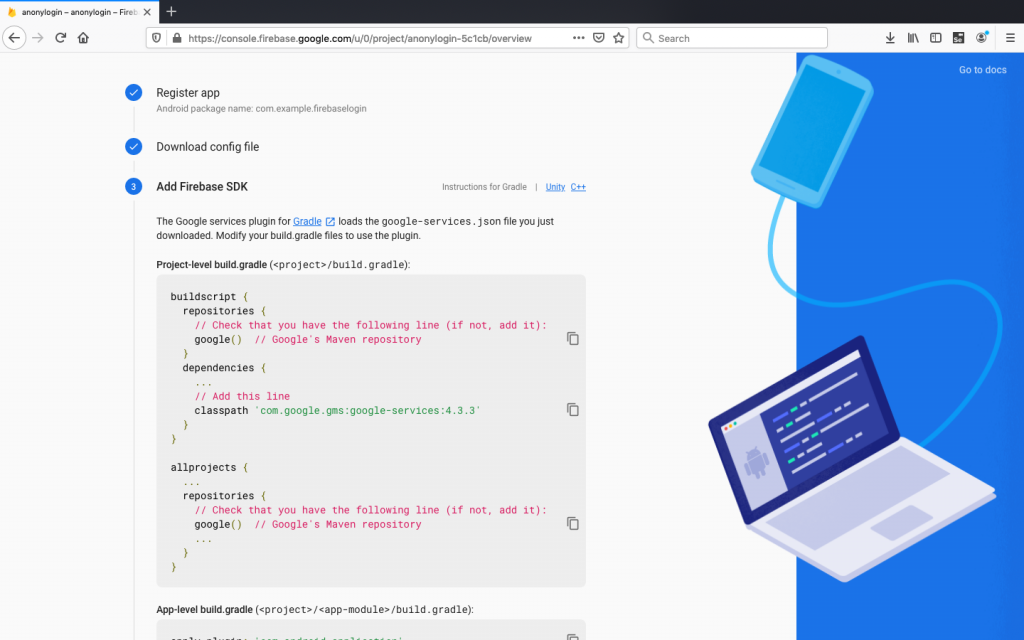
Step 3: Modify Gradle file
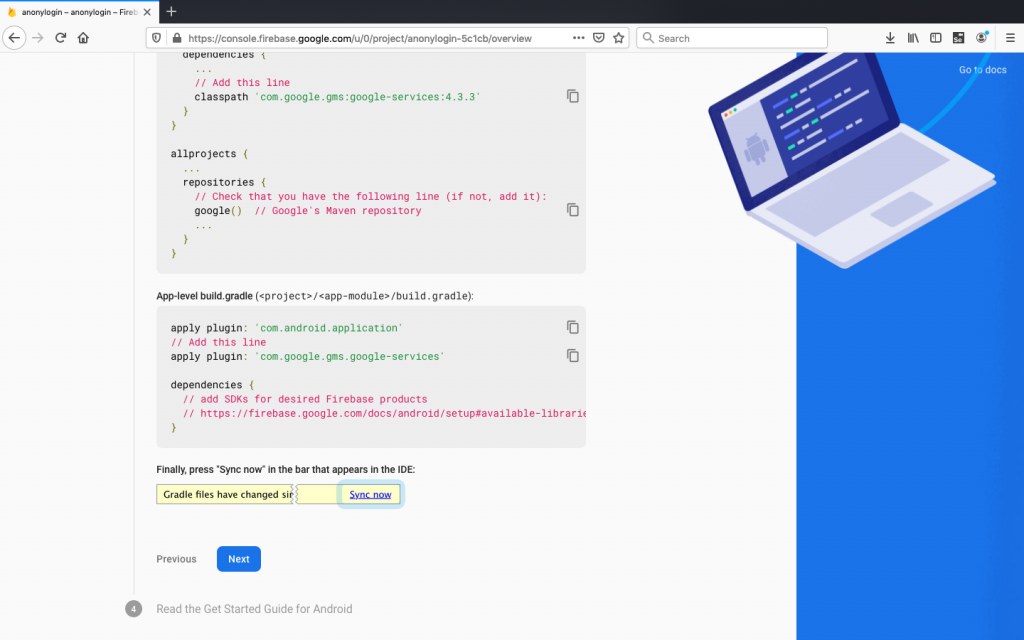
Now we have successfully implemented Google service plugin in our project. We need to uninstall the app and build it again to run the app on a simulator or on a mobile device.
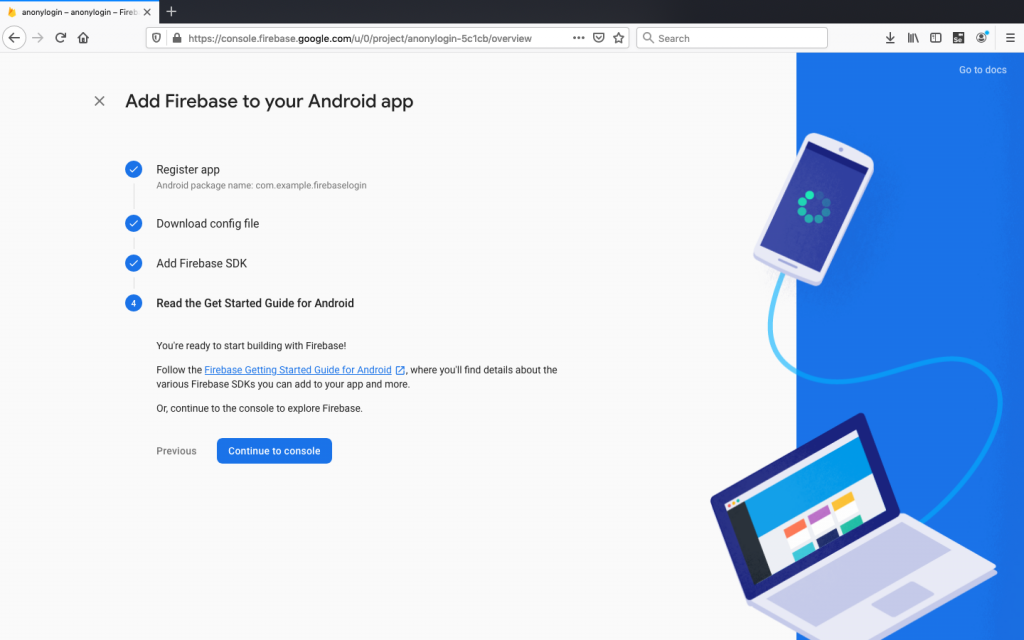
Ok! Now it’s time to add iOS app
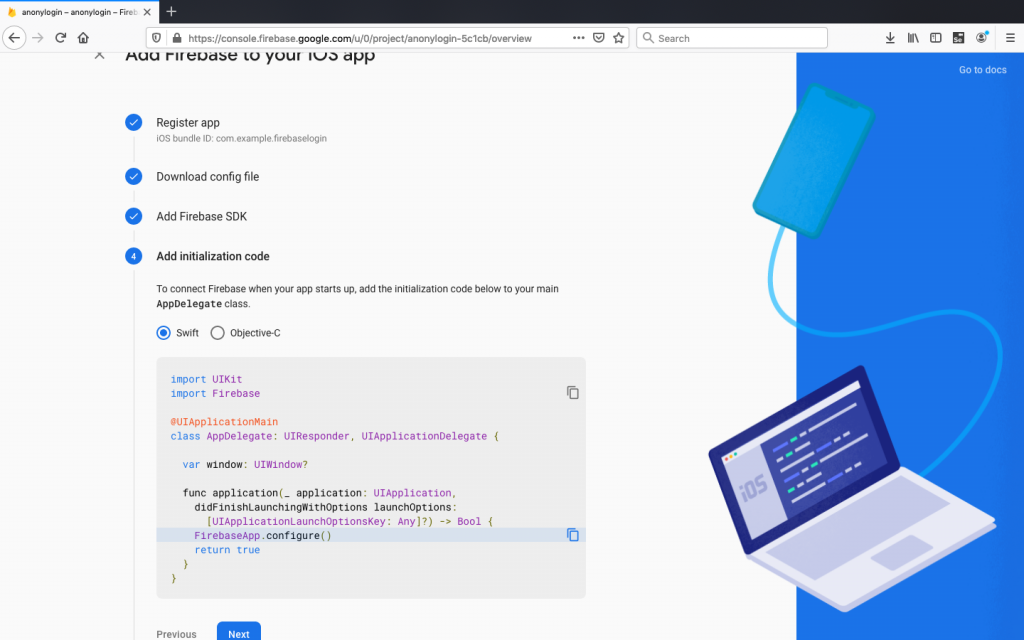
iOS has similar step. Open the iOS project in Xcode at ios/Runner/Runner.xcodeproj and copy the Bundle identifier under General:
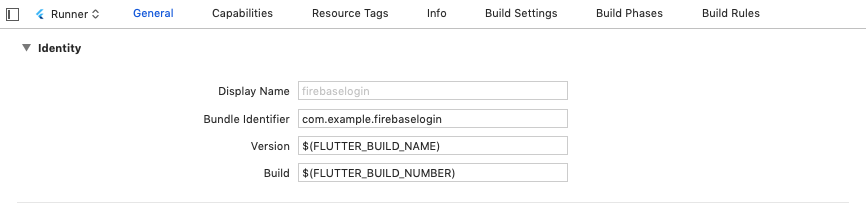
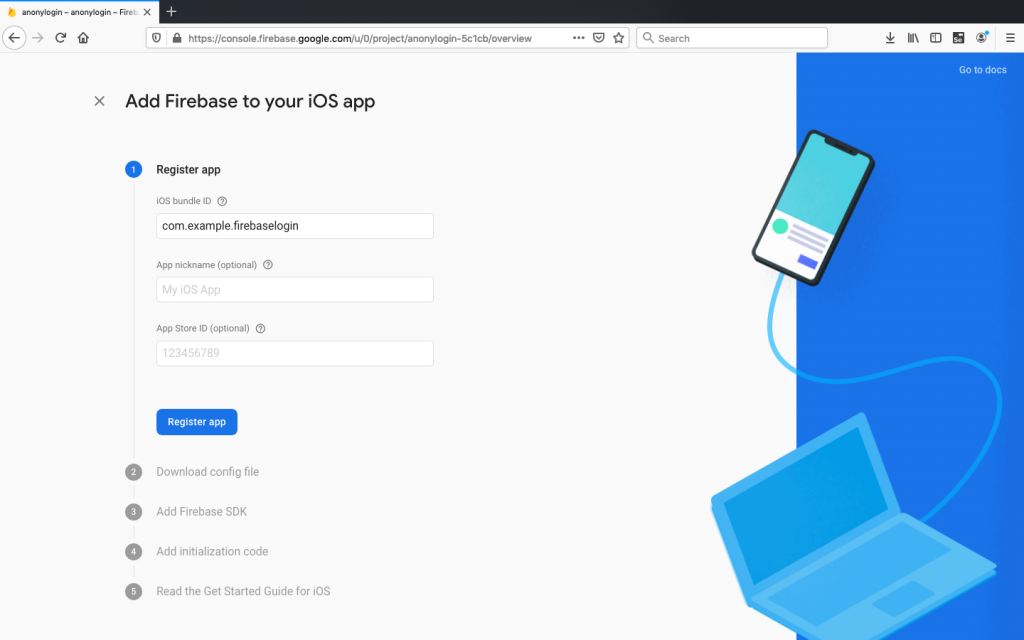
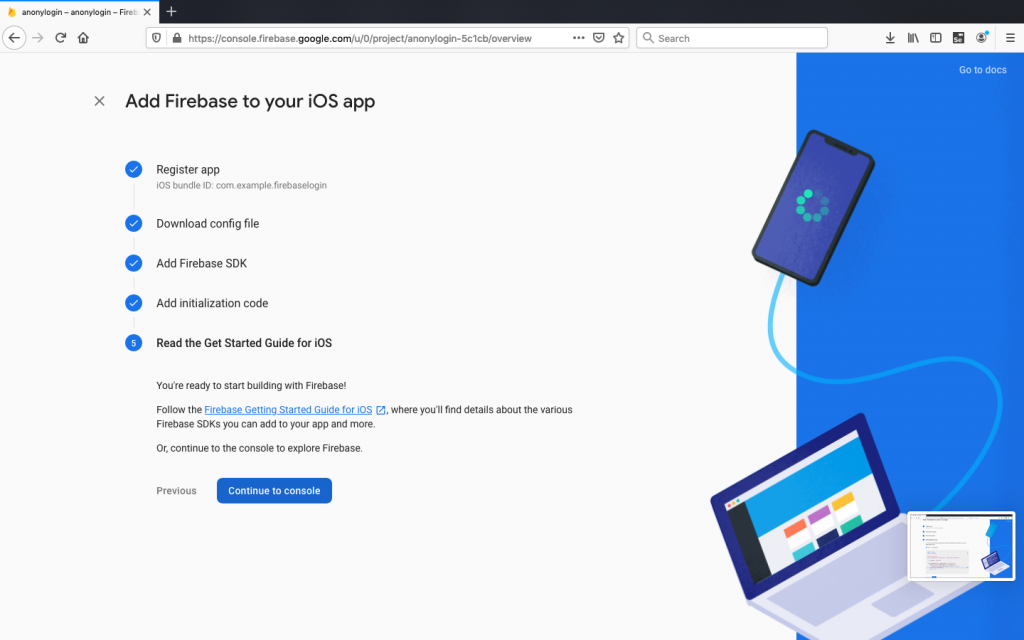
Select iOS platform from Firebase dashboard. You will see a similar screen where we add an iOS Bundle ID. By default both android and iOS bundle name will be same. It is better to keep same name for consistency: leave all the optional fields blank and click Register app to move next step.
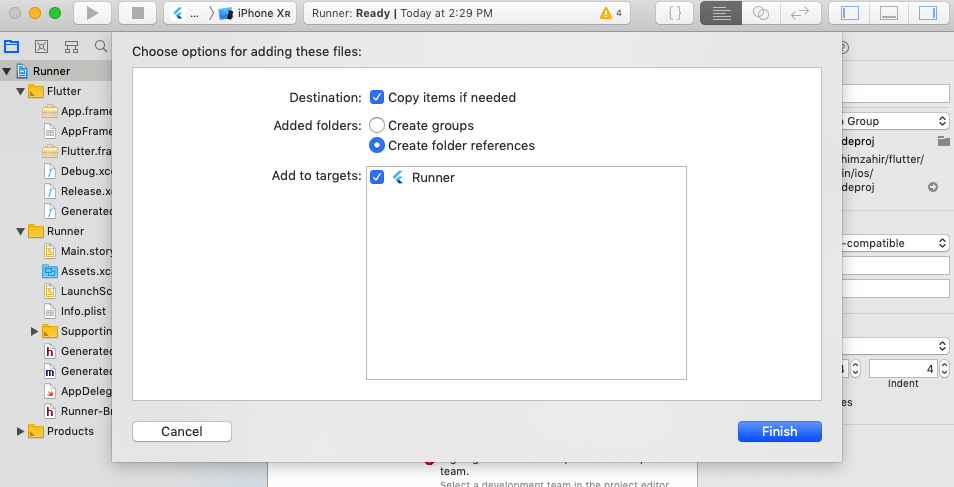
Download GoogleService-Info.plist and drag this file into the root of your Xcode project within Runner: Again remember path is important.
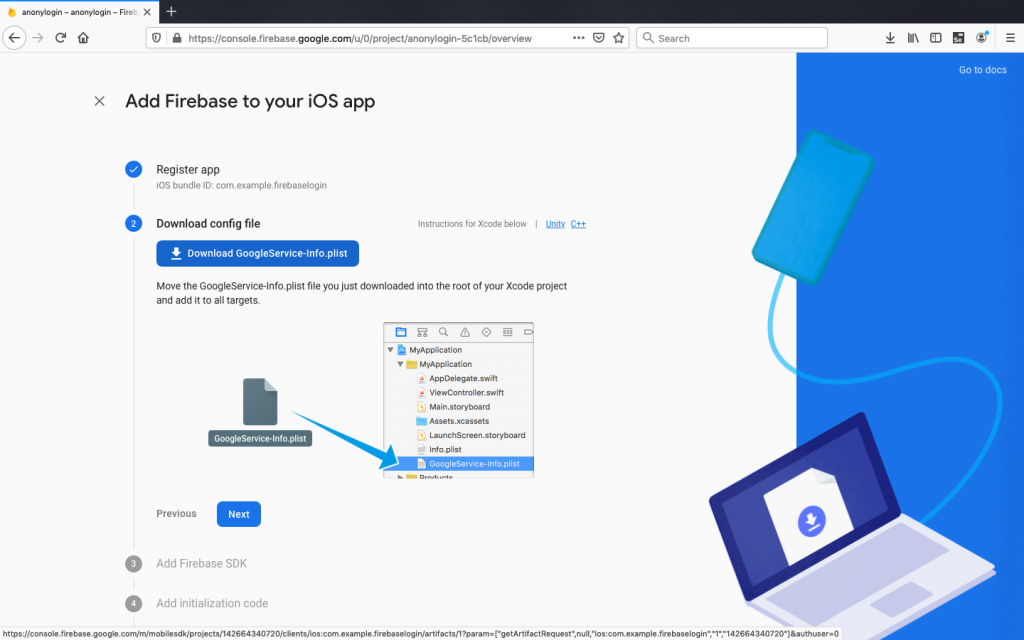
It’s important to use Xcode to put the GoogleService-info.plist file, as this will not work otherwise.
Conclusion
We’ve learned how to hook a flutter application with Firebase backend. We have created both android and iOS app on Firebase backend and then configured to connect with our application by downloading GoogleService-Info.plist file.