Author Archives: Febronei

Responsive Mobile Navigation With NextJS and TailwindCSS

Responsive Mobile Navigation With NextJS and TailwindCSS

In this tutorial, we’ll be using Next.js and TailwindCSS to build a responsive global navigation bar for your next project. This tutorial will walk you through the steps to set up your project, create components and add a global navbar in Next.js project using TailwindCSS!

The goal of having a mobile navigation is to make sure that content is always at users’ fingertips as they browse your application regardless of the devices.

Next.js

Next.js is a framework that makes the creation of React apps extremely easy and efficient.

Next.js is an open-source development framework built on top of React.js. It is React based framework which have various functionalities to power up both server-side rendering and generating client side static websites.

Next.js gives you the best developer experience with all the features it present for any production ready apps. Features such as hybrid static & server rendering, TypeScript support, smart bundling, route pre-fetching give developers a seamless development experience.

You can learn more about Nextjs and its newest features here.

TailwindCSS

TailwindCSS is a utility-first CSS framework that helps you create responsive layouts and design systems with ease. TailwindCSS is utility-based low level CSS framework intended to ease building web applications much faster and more efficiently. TailwindCSS is so popular nowadays, because it helps build websites without ever leaving your HTML files.

The purpose of this post is to show how easy and intuitive it can be to make a responsive navbar in NextJS with the help of TailwindCSS. So let’s begin. Before we start writing some code, we need to do some initial configuration for tailwind and Nextjs.

Setup and Configuration

To start with, we need to install NextJS with NextCli, using npm or yarn. In our case we prefer to use npm. Start by creating a new Next.js project if you don’t have one set up already. Follow this tutorial for complete installation guide of Nextjs and TailwindCSS project.

Creating Pages

Next, create few pages for the application. We are having home, about, projects and contact page. In the pages folder we are going to create all the pages so we can call them inside the navebar. In addition, create a component called MenuItems.js. Using props we will pass showMenu function and active status.

const MenuItems = ({ showMenu, active }) => {
  return (
    <ul
      className={
        active
          ? "flex-col flex items-center fixed inset-0 left-1/4 uppercase bg-black/40 backdrop-blur-lg gap-8 justify-center p-8 md:hidden"
          : "hidden"
      }
    >
      <Close onClick={showMenu} className="cursor-pointer" />
      <li>
        <Link href="/">
          <a>Home</a>
        </Link>
      </li>
      <li>
        <Link href="/projects">
          <a>Projects</a>
        </Link>
      </li>

      <li>
        <Link href="/about">
          <a>About</a>
        </Link>
      </li>
      <li>
        <Link href="/contact">
          <a>Contact</a>
        </Link>
      </li>
    </ul>
  );
};

Building Our Navbar

Now create a components folder in your root directory, then create all the components in that folder. Create Header.js file inside this folder.

React useState hooks is used identify the current state of the menu bar. By default we let the menu bar for mobile hidden using active state false. We use a function named showMenu to hide and show the menu for respective devices.

function Header() {
  const [active, setActive] = useState(false);

  const showMenu = () => {
    setActive(!active);
  };

Now it is time to install Material-ui icons using npm. To display the menu we are using a clickable button named MenuOutlined icon from material-ui icons. We use onClick property and then call showMenu function inside the MenuOutlined.

<nav>
    <div className="absolute right-6 md:hidden top-6 scale-150">
      <MenuOutlined
        onClick={showMenu}
        className="scale-150 cursor-pointer"
      />
    </div>

    <ul className="hidden md:flex gap-8 p-6 uppercase bg-white/10">
      <li>
        <Link href="/">
          <a>Home</a>
        </Link>
      </li>
      <li>
        <Link href="/">
          <a>Testimonials</a>
        </Link>
      </li>
      <li>
        <Link href="/">
          <a>Information</a>
        </Link>
      </li>

      <li>
        <Link href="/about">
          <a>About</a>
        </Link>
      </li>
      <li>
        <Link href="/contact">
          <a>Contact</a>
        </Link>
      </li>
    </ul>

    <MenuItems showMenu={showMenu} active={active} />
</nav>

Making Navbar Appear on All Pages

Now we have done our navbar. But it is important to use a common navbar in every page of our application. To make it simple we can import navbar in the root level file _app.js.

import "../styles/globals.css";
import Head from "next/head";

import Header from "../components/Header";

function MyApp({ Component, pageProps }) {
  return (
    <>
      <Head>
        <title>Navbar Example</title>
      </Head>
      <Header />
      <Component {...pageProps} />
    </>
  );
}

export default MyApp;

Now you have a working responsive navbar.

You can have full code here. Thanks for reading!

Install Tailwind CSS with Next.js

Install Tailwind CSS with Next.js

Setting up Tailwind CSS in a Next.js v10+ project.

This tutorial will walk you through the steps by steps to install and configure a Next.js project with TailwindCSS.

TailwindCSS

Tailwind is a utility-first CSS framework that provides a set of ready-to-use mixins, so it doesn’t require any of the usual CSS configuration. TailwindCSS is used for frontend styling, as it helps build websites without ever leaving your HTML files.

NextJS

Next.js is a minimalistic open-source framework for server-rendered React applications, built on top of ReactJs, allowing developers to create JavaScript applications that work both in the browser and in Node environments (e.g., server rendering).

Create your project

Create a new Next.js project using command line tool. You can use NextJs official documentation to create brand new Nextjs app.

npx create-next-app my-project
cd my-project

Install Tailwind CSS

Install TailwindCSS and its peer dependencies via npm. You can also use yarn instead of npm. Now run the init command as shown below to generate tailwind.config.js and postcss.config.js. These files are helpful when you want to configure more things regarding TailwindCSS for your application.

npm install -D tailwindcss postcss autoprefixer
npx tailwindcss init -p

Configure your template paths

Add the paths to all of your template files in your tailwind.config.js file. You can use your own CSS, external packages and plugins in your project using tailwind.config.js.

module.exports = {
  content: [
    "./pages/**/*.{js,ts,jsx,tsx}",
    "./components/**/*.{js,ts,jsx,tsx}",
  ],
  theme: {
    extend: {},
  },
  plugins: [],
}

Add the Tailwind directives to your CSS

Add the @tailwind directives for each of Tailwind’s layers to your ./styles/globals.css file. Now basic setup is completed.

@tailwind base;
@tailwind components;
@tailwind utilities;

It is time to run your build process with npm run dev.

npm run dev

Start using Tailwind in your project

Start using Tailwind’s utility classes to style your content.

export default function Home() {
  return (
    <h1 className="text-3xl font-bold underline">
      Hello world!
    </h1>
  )
}

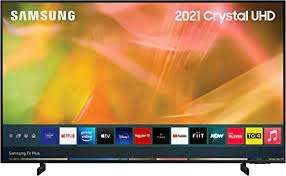
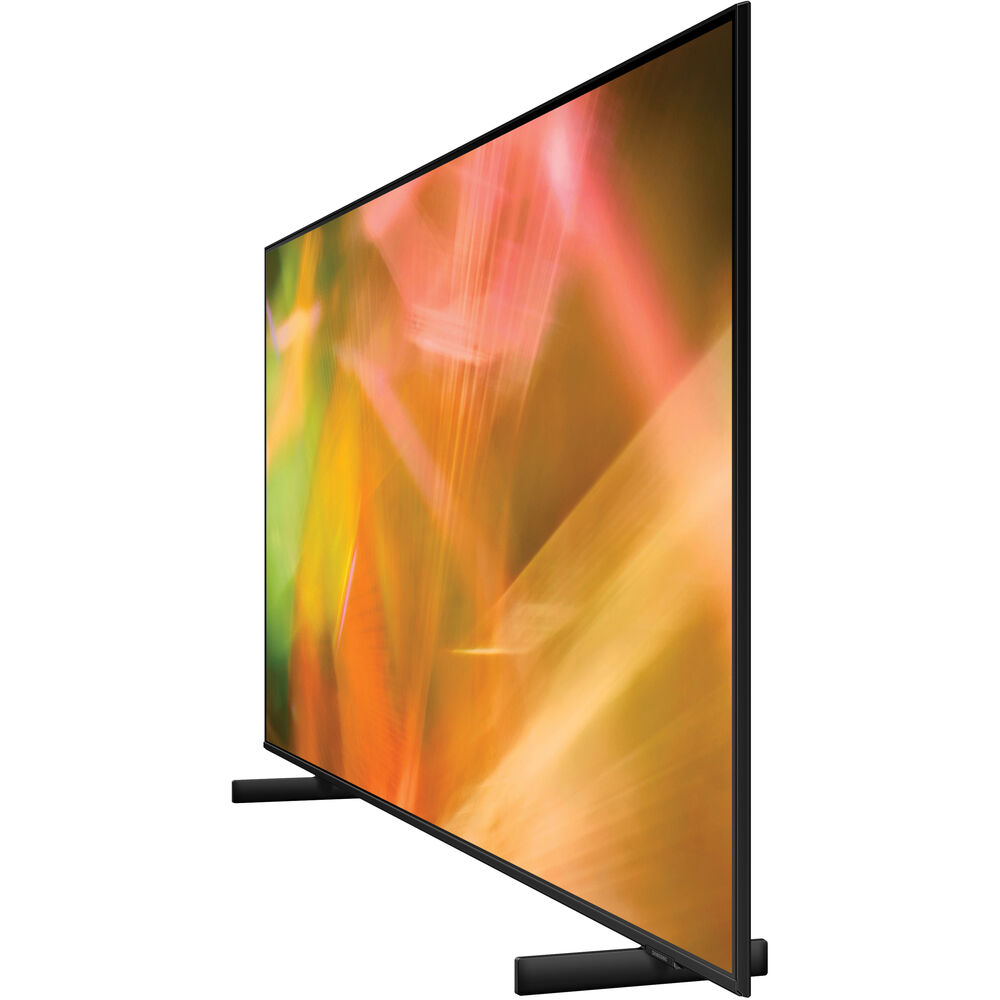
Samsung Smart TV 4K UHD AU8000 Series HDR

Crystal UHD features an ultra thin profileallowing your TV to blend effortlessly with your interior for a minimalist look that stands out ever so elegantly. The sound quality and the crystal clear picture, you gonna love it. View your favorite content at four times the resolution of 1080p with the Samsung AU8000 50″

Additional Features

  • DYNAMIC CRYSTAL COLOR: It produces millions of shades of color through powerful Dynamic Crystal technology
  • CRYSTAL PROCESSOR 4K: You are able to see every detail with stunning clarity. It has powerful processor which is tuned for Crystal Displays.
  • BUILT-IN VOICE ASSISTANTS: Enjoy your experiences beyond streaming; You are able to schedule recordings, search, auto-adjust gaming settings. You are able to connect with compatible devices, and control your smart TV with your voice, all with one remote.
  • MOTION XCELERATOR: With minimized blur and enhanced motion clarity, Motion Xcelerator catches all the fast-moving action, whether you’re watching sports or taking advantage of new gaming capabilities
  • SLEEK and SLIM DESIGN: The ultra thin, AirSlim profile lets your television blend in effortlessly
  • 4K UHD UPSCALING: See what you’ve been missing on a crisp, clear picture that’s 4x the resolution of Full HD

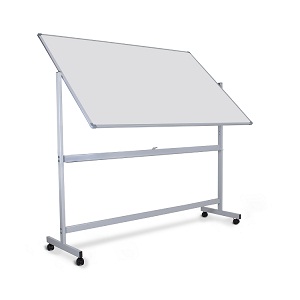
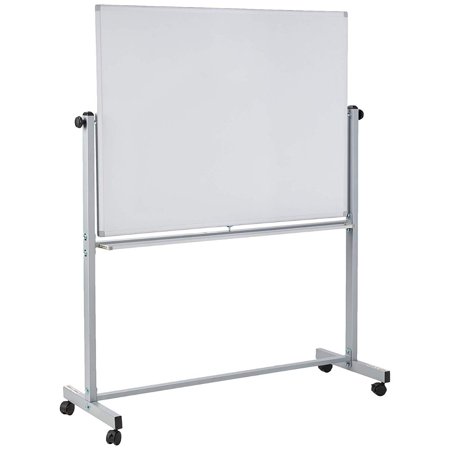
Double-Sided H-Shaped Whiteboard

I always prefer large size board. It is portable and simply perfect. I use it to explain math and science lessons to my students. This Double-sided whiteboard is perfect for them, as they can use both side of the board at the same time. Easily flip the reversible board for twice the writing area. The steel frame provides a professional appearance and rolling casters make it easy move around. Magnetic surfaces allow to display charts, papers and notes using magnets that came with the package.

whiteboard

Apple AirPods (2nd Generation)

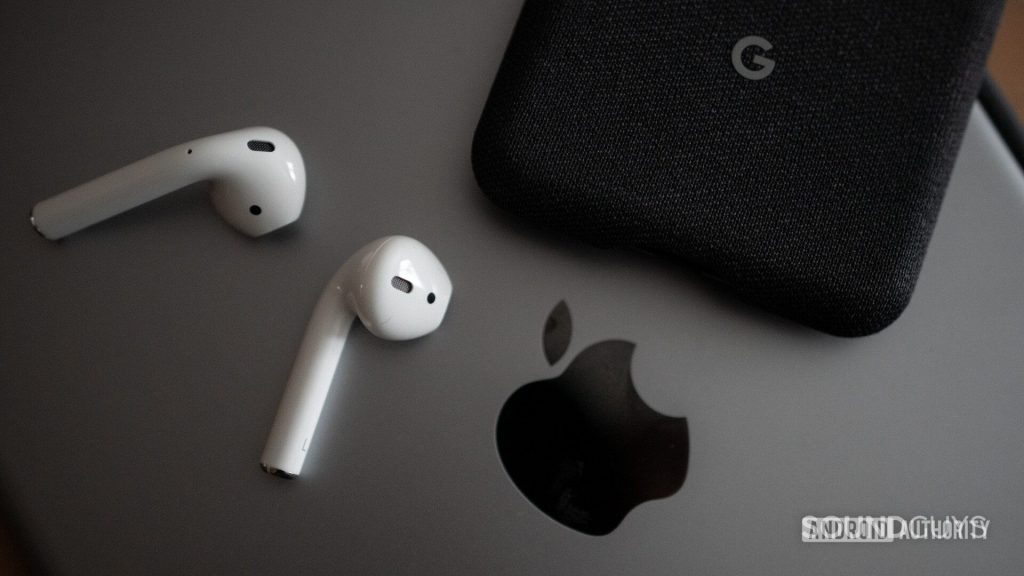
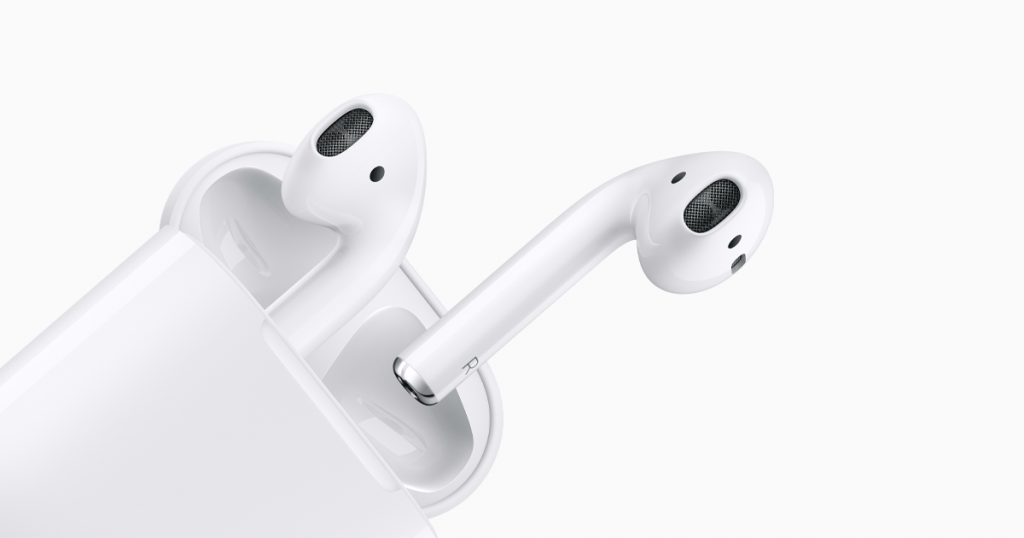
The Apple AirPods (2nd Generation) have quickly become one of the most popular earbuds in the market, since it was on the market. It has combination of excellent sound quality and advanced features that allow you to listen to your favorite songs, podcasts and audiobooks. Here are some of the key benefits to choosing these wireless earbuds for all your listening needs.

Apple AirPods (2nd Generation)

Inexpensive wireless earbuds

Inexpensive wireless earbuds are a great way to keep your hands free and enjoy listening without having to worry about tangled wires. The Apple AirPods are an excellent option for consumers who are looking for a sleek, easy-to-use, and affordable pair of wireless earbuds.

Wireless earbuds for traveling

Convenient and easy to use, small enough to fit in your pocket. Great for people who are always on-the-go! They also have a hands-free feature so you can still use your phone while listening to music.

Easy pairing with other devices

Easily pair with devices in no time. Just tap on your device’s Bluetooth menu to connect them wirelessly.

Fast charging capability

They have a charging case, you can charge them quickly and conveniently whenever you need to do so. They also have a long battery life, so you can listen to music for hours on end without needing to charge them. With fast charging, you’ll be able to get a quick boost when you need it most.

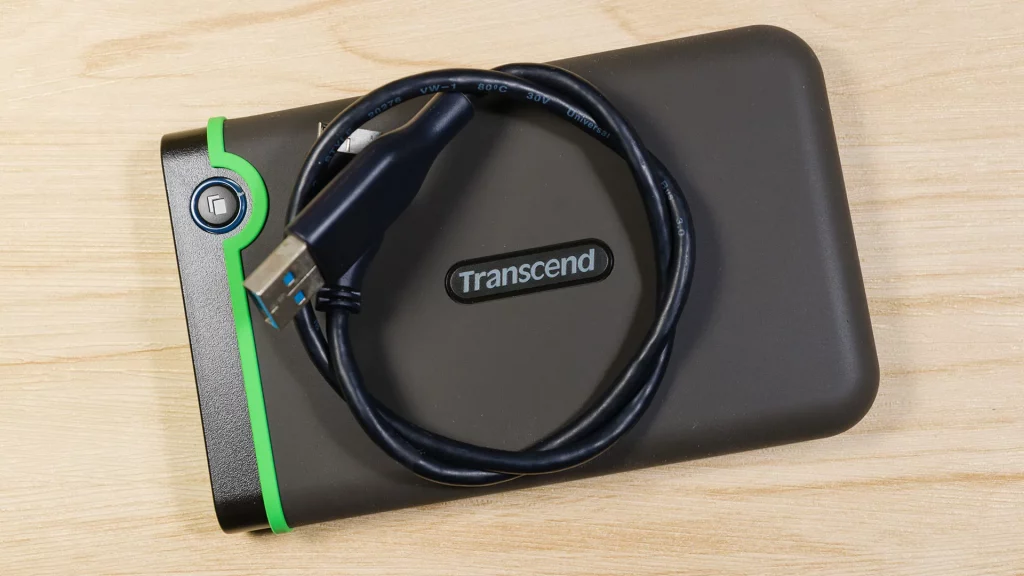
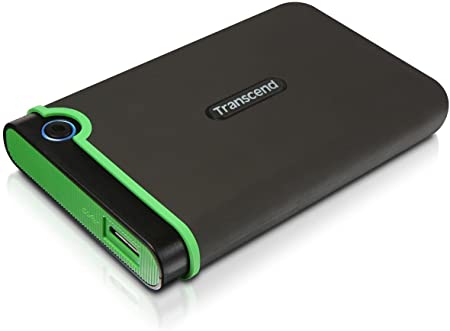
Transcend StoreJet Portable Hard Drive

Using since 2016, never faced any issue so far. The Transcend StoreJet 25M3 hard drive, combines the shock-resistant qualities with the SuperSpeed 5Gb/s interface bandwidth of USB 3.1 Gen 1, allowing users to enjoy ultra-fast file transfers and the highest level of anti-shock protection.

Features

  • SuperSpeed USB 3.0 compliant and backwards compatible with USB 2.0
  • Connection bandwidth up to 5 5Gb/s
  • Durable anti-shock rubber outer case
  • Easy plug and play operation, no drivers required
transcend green Hard drive

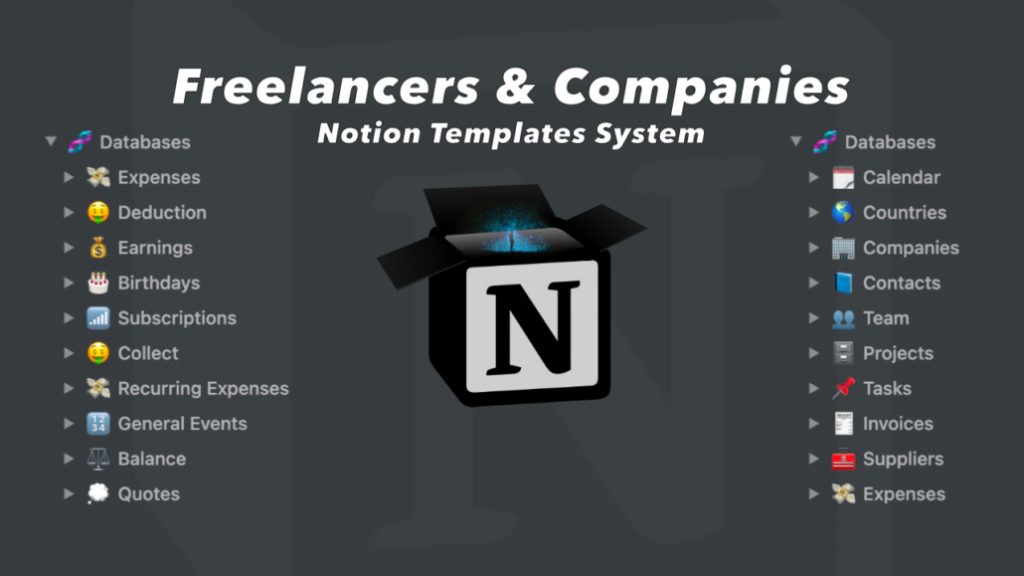
Notion

Why I like Notion and why you should be too

There are lots of reasons why I love Notion and why you should be using it too. This new productivity tool helps me save time and become more efficient in day to day work.

In a nut shall, Notion is a project management and note-taking software. It can help you organize your tasks, keep track of them, and create an overview of what’s going on in your projects. It has all sorts of other great features as well, like sharing documents with team members, assigning tasks to people on your team, sending out emails with updates about what’s happening in your projects (even if they aren’t using Notion), etc.

Notion is free software for personal use. Simply we need to create an account and start using it.

The first thing that might catch your eye is how clean it looks—there are no menus or buttons at all! Instead, everything happens in a sidebar on the left side of your screen.

Notion is a powerful tool for team collaboration, managing projects, tasks, customer support, Notes, organizing processes, information exchange, etc. But it’s not just another project management software or CRM. It’s actually a place where all your data lives in one place, with no boundaries between your emails, chats, meetings notes, files – everything stays in sync and available on any device.

notion logo

If you want to try the pro version or want to collaborate with your entire team in one place then you need subscribe any plans which is suitable for you. You may check their pricing and plans here.

Users can choose the type and style of a platform that best fits their needs. There are hundreds of different templates available, a table, document, Kanban, to timelines.