Tag Archives: webprogramming

How to Add Custom Fonts to NextJS and Tailwind CSS Application

Add Custom Fonts to NextJS and Tailwind CSS Application

Tailwind CSS offers powerful capabilities to build visually appealing websites in a short time frame. To give your website a unique look and feel, you can choose to add custom fonts to NextJS project using Tailwind configuration.

Setting up a custom font in Next.js using Tailwind CSS is fairly easy. It needs 3 easy steps.

  • Installation and setting up _document.js
  • Declaring custom font family in tailwind.config.js
  • Using it in your components and pages.

For this tutorial, we will use Montserrat, a free Google Font. So let us begin installation process.

Create Your NextJs Project

The quickest way to start using Tailwind CSS in your Next.js project is to use the Next.js + Tailwind CSS Example. This will automatically configure your Tailwind setup based on the official Next.js example. If you’d like to configure Tailwind manually, continue with the rest of this guide.

Create your project

Start by creating a new Next.js project if you don’t have one set up already. The most common approach is to use Create Next App.

npx create-next-app nextjs-tailwind-tips
cd nextjs-tailwind-tips

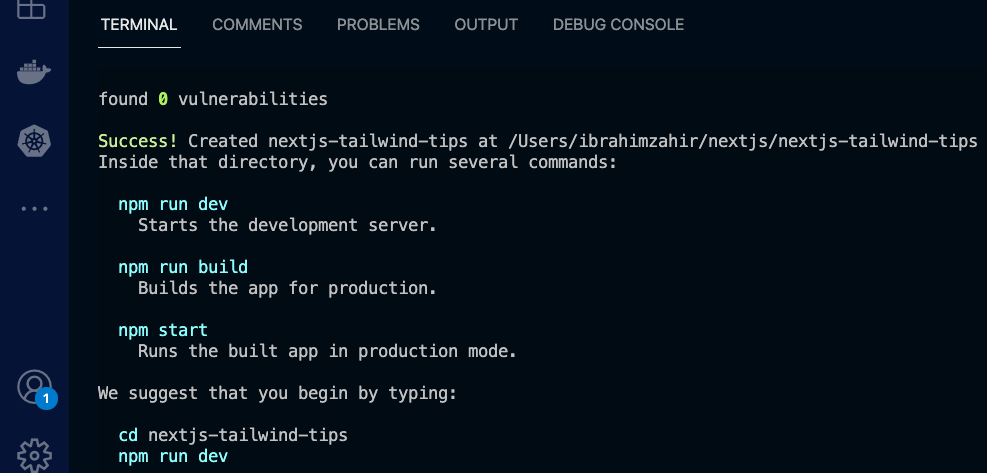
If everything has goes well, you will see something like this on your terminal.
Install Tailwind CSS

Install tailwindcss and its peer dependencies via npm, and then run the init command to generate both tailwind.config.js and postcss.config.js.

npm install -D tailwindcss postcss autoprefixer
npx tailwindcss init -p

Configure your template paths

Add the paths to all of your template files in your tailwind.config.js file.

module.exports = {
  content: [
    "./pages/**/*.{js,ts,jsx,tsx}",
    "./components/**/*.{js,ts,jsx,tsx}",
  ],
  theme: {
    extend: {},
  },
  plugins: [],
}

Add the Tailwind directives to your CSS

Add the @tailwind directives for each of Tailwind’s layers to your ./styles/globals.css file.

@tailwind base;
@tailwind components;
@tailwind utilities;

Add Google Font to _document.js File

A custom Document can update the <html> and <body> tags used to render a Page. This file is only rendered on the server, so event handlers like onClick cannot be used in _document.

To override the default Document create a new custom document file _document.js in your pages folder next-project/pages/ and set it up with the following code:

Go to Google Fonts and search for the specific font you like. For this tutorial, we will use Montserrat, a free Google Font. Select the style variants from thin (100) to bold (900). Copy the link provided by Google and past in between the Head tags.
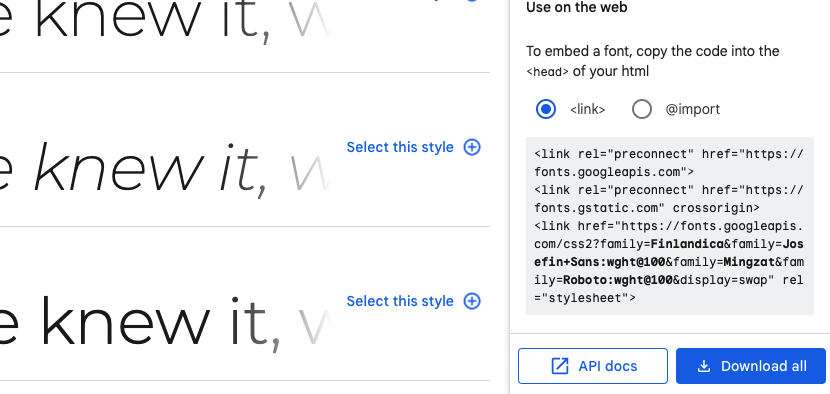
import Document, { Html, Head, Main, NextScript } from "next/document";

function MyDocument() {
  return (
    <Html>
      <Head>
        <link
          href="https://fonts.googleapis.com/css2?family=Montserrat:wght@100;200&display=swap"
          rel="stylesheet"
        />
      </Head>
      <body>
        <Main />
        <NextScript />
      </body>
    </Html>
  );
}

export default MyDocument;

Now, it’s time to configure the tailwind.config.js file. Go to Add tailwind.config.js and add Montserrat as the font family for your app. Also remember to add defaulTheme for the app as shown below.

/** @type {import('tailwindcss').Config} */
const defaultTheme = require("tailwindcss/defaultTheme");

module.exports = {
  mode: "jit",
  purge: ["./pages/**/*.{js,ts,jsx,tsx}", "./components/**/*.{js,ts,jsx,tsx}"],
  darkMode: false, // or 'media' or 'class'
  theme: {
    extend: {
      fontFamily: {
        Montserrat: ["Montserrat", ...defaultTheme.fontFamily.sans],
      },
    },
  },
  variants: {
    extend: {},
  },
  plugins: [],
};

Start Using Custom Font

Go to your Components or Pages, in this case for simplicity we are using _app.js file to custom font. Add className=”font-fontname” to the element. The fontName here refers to the name we gave to the font family in the previous step in this case Montserrat.

import Head from "next/head";
import Image from "next/image";

export default function Home() {
  return (
    <div>
      <Head>
        <title>Create Next App</title>
        <meta name="description" content="Generated by create next app" />
        <link rel="icon" href="/favicon.ico" />
      </Head>

      <main>
        <h1 className="w-full text-center py-12 font-Montserrat text-3xl font-bold">
          Hello world! Im Montserrat Font
        </h1>
      </main>
    </div>
  );
}

Now you will be able to see the custom font you just added to your app.

Code is available on GitHub repo.

How to Add Tailwind CSS to Your Reactjs Project

Tailwind CSS to ReactJS project

Tailwind CSS is a utility-first CSS framework which is used to make your website more responsive and beautiful. It is well known modern CSS frameworks which helps to speed up the development and styling process significantly. If you’re new to Tailwind CSS please follow the official documentation of Tailwind CSS and find a good starting point at the project’s homepage at TailwindCSS.

Setting up your React project with Tailwind CSS is so simple and comprises only very few steps. In this tutorial you will learn step-by-step approach of installing Tailwind CSS into your React project and get started using Tailwind’s CSS classes for styling.

Step 1: Creating Your React Project

Creating your new React.js project is the very first step. The easiest way to create a new project is to use the create-react-app script on the command line.

npx create-react-app react-app-with-tailwind

Now, cd into the working directory.

cd react-app-with-tailwind

If everything goes well, you should be able to see your react project on the web browser when you run the following command.  

npm run start

Step 2: Install Tailwind CSS

Now install tailwindcss and its peer dependencies via npm, and then run the init command to generate both tailwind.config.js and postcss.config.js.

npm install -D tailwindcss postcss autoprefixer
npx tailwindcss init -p

Tailwind will create two files. You need to make small changes so it will works well for our Reactjs project.

  • tailwind.config.js
  • postcss.config.js

Step 4: Configuring Template Files

You need to specify the path to our Reactjs project files by adding the following configuration setting inside tailwind.config.js. Make sure to add the paths to all of your template files in your tailwind.config.js file.

module.exports = {
   content: [
     "./src/**/*.{js,jsx,ts,tsx}",
   ],
   theme: {
     extend: {},
   },
   plugins: [],
 }

Step 5: Add the Tailwind directives to your CSS

Now add the @tailwinddirectives for each of Tailwind’s layers to your ./src/index.css file.

@tailwind base;
@tailwind components;
@tailwind utilities;

That’s all. You’re good to go! Let’s make use of Tailwind’s CSS classes within our main React component in App.js.

Step 6: Use Tailwind CSS In Your React App

Add the following code to App.js. Start the development web server by using the following command. Now you should be able to see the following result in the browser.

<div className="container mx-auto bg-gray-200 rounded-xl shadow border p-8 m-10">
      <p className="text-3xl text-gray-700 font-bold mb-5">
        Welcome!
      </p>
      <p className="text-gray-500 text-lg">
        React and Tailwind CSS in action
      </p>
    </div>
npm run start

You can find code for this tutorial in this GitHub repo

What’s new in Flutter 3

whats new in flutter 3 for let me fail

Introduction

Google announces Flutter 3. We all have been waiting for Material 3, Games Toolkit, macOS, Linux Support and Fordable Phone Support. Wait is over, finally it has arrived. Google and the open source community has put a lot of hard works to Flutter 2.0 and now they have released Flutter 3.0 with much more exciting features. Today we look into the new features that Flutter has in this major changes!

1. Flutter Firebase

A collection of tools is always necessary to have when building and launching applications. Data storage, cloud functions, authentication and app testing for different platform requires comprehensive third-party tools such as Firebase, AWS Amplify and AppWrite.

For example, Firebase is an amazing back-end platform backed by Google which accelerate app development process providing powerful backend infrastructure for the applications.

Flutter and Firebase work hand-in-hand to help you build web and mobile apps. This is not a surprise for any of us as we know both these products are belongs to one company, Google.

Read more about How to connect flutter with firebase backend.

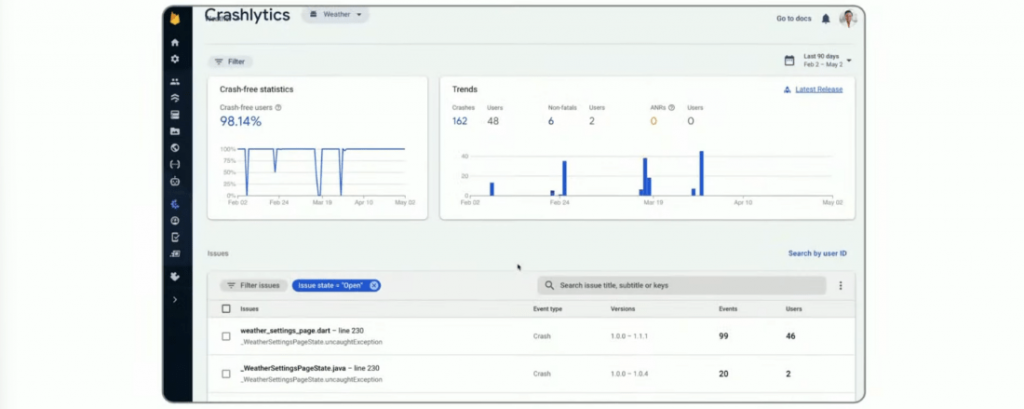
Majority of Flutter developers use Firebase in their apps. Over the last few releases Flutter team have been working with Firebase to expand and provide better integration for Flutter as a first-class integration. Flutter Crashlytics plugin helps to track real-time fatal errors with the same set of features through Firebase’s real-time crash reporting service. Firebase Crashlytics is a lightweight, realtime crash reporter that helps you track, prioritize and fix stability issues that erode your app quality.

2. macOS and Linux Support

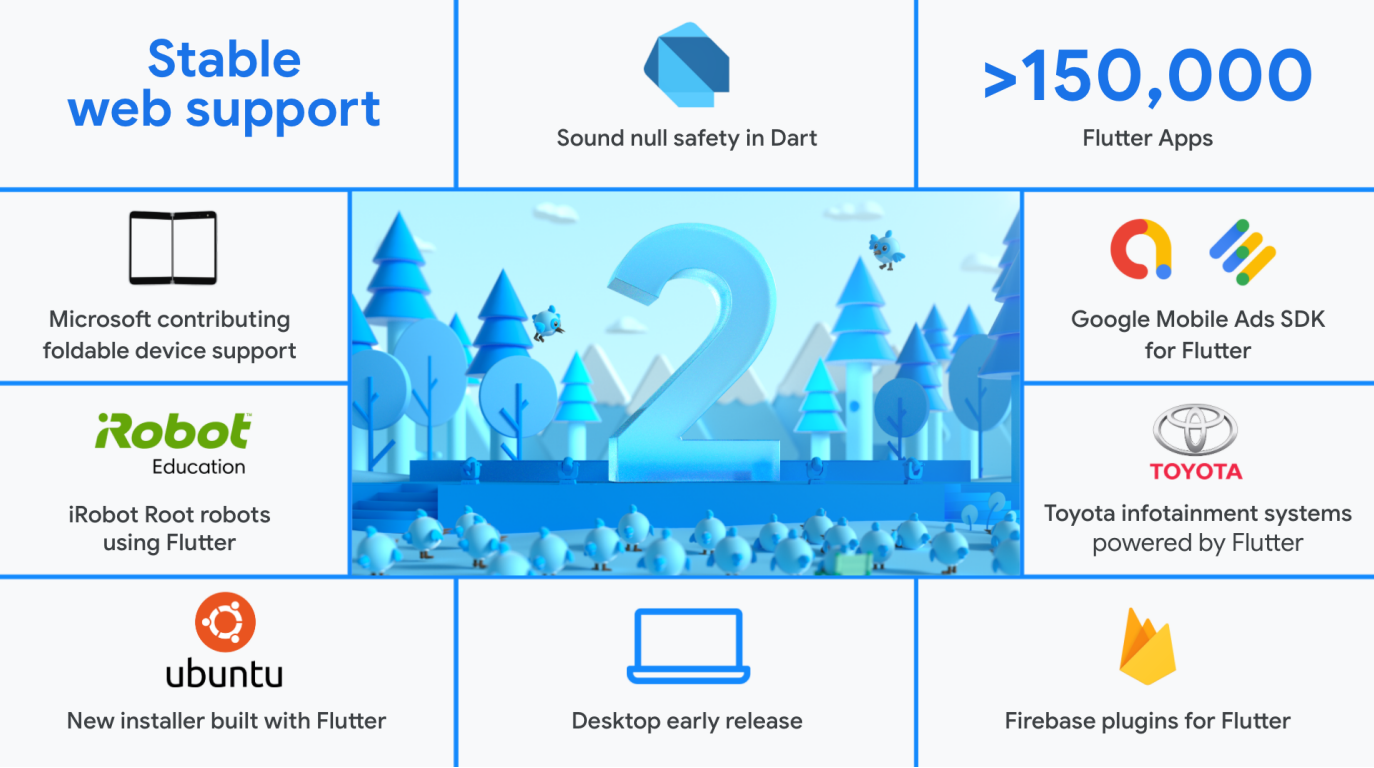
According to a 2021 developer survey, Flutter is the most popular cross-platform mobile framework used by majority of global developers. Flutter desktop support is still far behind compared to mobile support specially in its early releases.

Flutter was stable for Windows in previous versions and now it supports both linux and macOS as well. Now you can build apps for all desktop platforms without ever worrying of breaking your code. You can build production ready applications for all platforms using flutter.

3. Mobile Updates

Smoother experience

Flutter apps now contribute 120Hz refresh rates that were previously limited to only 60Hz on iOS devices. This increase helps to have a smoother experience on iOS devices specially during animations.

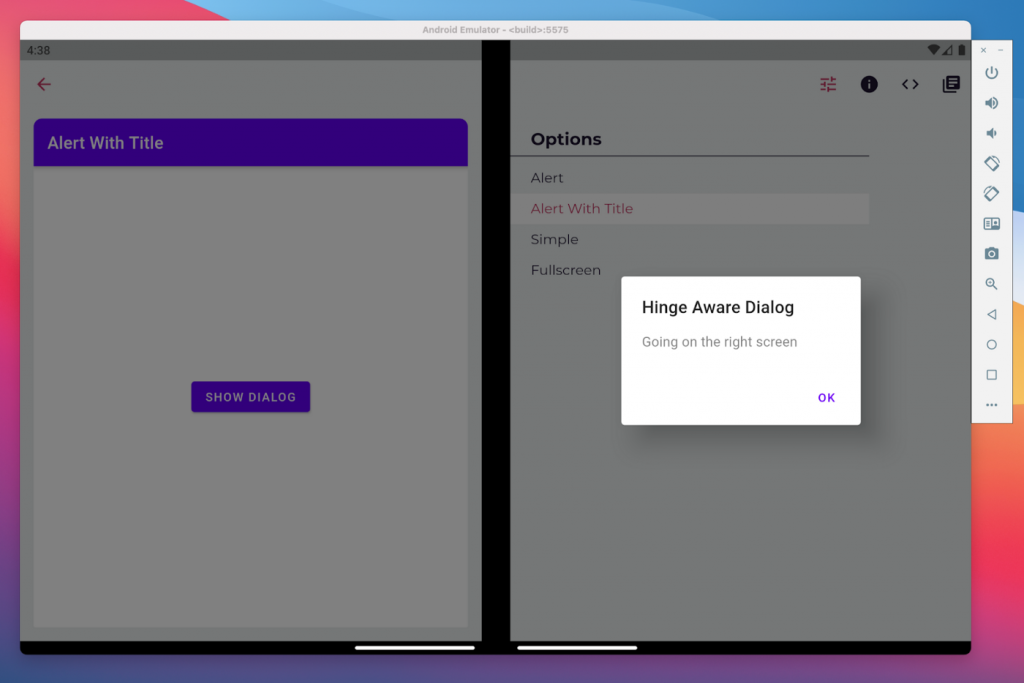
Fordable Phone Support

Finally the newest release supports for fordable mobile devices. The new widgets and its core features will bring more natural experiences to fordable devices.

4. Web updates

Faster image decoding and scrolling

Flutter web now automatically detects and uses the ImageDecoder API in browsers that support it. As of today, most common browsers have added this API. Because of ImageDecoder API the image rendering for web is more efficient and the speed is twice faster than the previous versions. In overall the performance is major improvement for new update.

App lifecycle API

The new lifecycle API provides you flexibility to control over the Flutter framework. Now you can run Flutter apps in headless mode on the web. This gives you the flexibility to control the bootstrap process of your app from hosting HTML page, and check Lighthouse analysis for the performance of your app. For example you could preload the content while showing a login screen or a progress bar! You can get more information, Customizing web app initialization on docs.flutter.dev.

5. Material 3

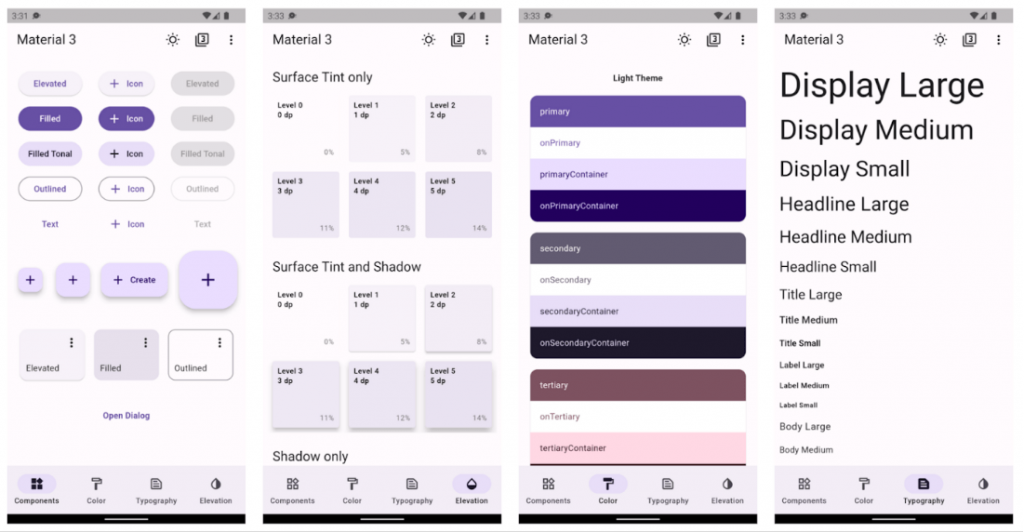
Material 3 is known as the next generation of Material Design. Flutter 3 does not have full support for material 3 yet, only certain widgets support material 3. Flutter 3 provides opt-in support for Material 3. Maybe in future release, all the widgets might have material 3 support and could be the standard default for flutter.

6. Theme Extensions

Theme extension feature enable themes more convenient. It enables customizing theme by adding custom colors and custom color names to the flutter theme. You are not stuck with default colors that comes with flutter anymore. It is now much easier than ever to add our own color to flutter apps.

7. Flutter’s Games Toolkit

The Flutter team has released an easy-to-use casual games tool kit for casual gamers. It is a specialized starter kit of various templates which mean you can write your game code with Flutter casual Games Toolkit.

Now you can deploy casual games much quickly on multiple platforms. Flutter game repo has pre-integrated modules for in-app purchases, Ads & more. However if you want to develop 3D games, then flutter is not the right choice rather you want to go for Unity 3D.

8. Dart 2.17

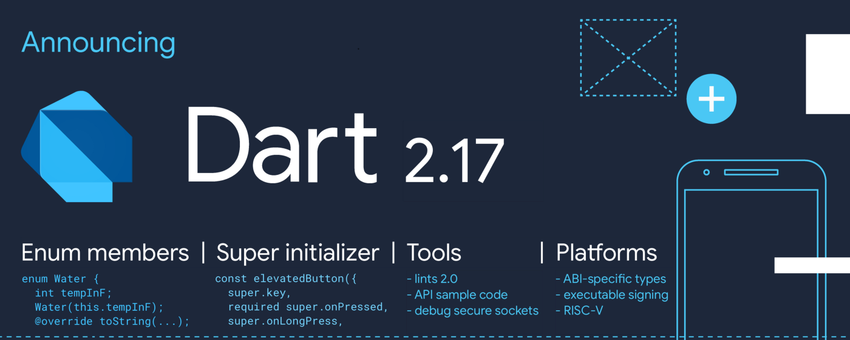
Dart 2.17 stable was announced along with Flutter 3.0 with many long-awaited features that developers have been waiting for. Dart is the secret sauce behind Flutter, and any improvements in Dart would help improve Flutter’s development.

According to Dart and Flutter team, Dart 2.17 adds major new support for members on enums, refines how you can use named arguments in constructors, and makes code for forwarding parameters to superclasses much less verbose and repetitive. We will look into the new features of Dart 2.17 in more details in the coming articles.