It is already halfway through 2022 and if you are still looking for any VSCode themes, then here is the list of some of the most popular VS Code themes for 2022 so far.
List of the top 5 VSCode themes – My choice:
- Atom One Dark Theme
- GitHub Theme
- Night Owl Theme
- JellyFish Theme
- Sublime Material Theme
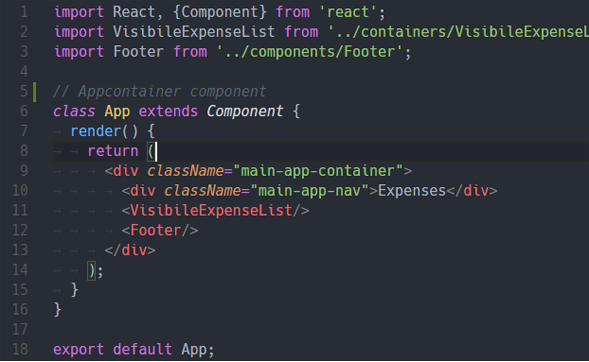
Atom One Dark Theme
One of the best dark theme port in the marketplace. Atom’s iconic One Dark theme for Visual Studio Code is so popular among developers who loves dark mode.
It has visually pleasing styles and well-blended color schemes, therefore it is considered as one of the most used themes, nearly 3.3 million download in the market place as of today.
Here are some of the stats:
- No. of Installs: 3,279,542 installs
- Rating: 4.81/5 (102)
- Current version: v2.2.3 | 1/4/2021| Free
GitHub Theme
It is popular theme for developers who prefer GitHub’s classic themes. It comes with various new styles, simply you need to select any available theme during installation process. You can choose one of these themes.
GitHub Light DefaultGitHub Light High Contrast✨ new ✨GitHub Light Colorblind✨ new ✨GitHub Dark DefaultGitHub Dark High ContrastGitHub Dark Colorblind✨ new ✨GitHub Dark Dimmed
There are also two older themes. Note: They might not get updated frequently and are kept for legacy reasons:
GitHub Light(legacy)GitHub Dark(legacy)

Here are some of the stats:
- No. of Installs: 4,349,035 installs
- Rating: – (120)
- Current version: v6.0.0 | 2/11/2022 | Free
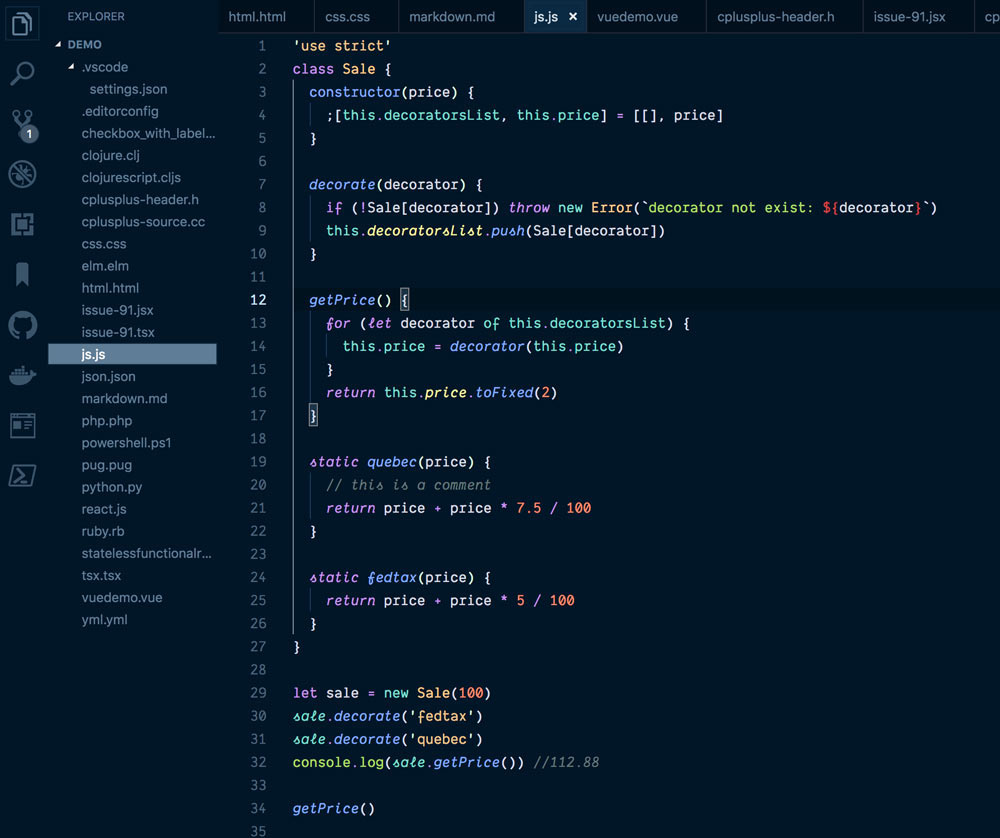
Night Owl Theme
This theme is fine-tuned for those of us who really like to code late at night. It comes with both dark (Night Owl) and light theme (Light Owl). The color choices, background, and styling are perfectly suitable for developers who are having difficulties in low-light circumstances. ✨
Night Owl
Light Owl

Here are some of the stats:
- No. of Installs: 1,463,301 installs
- Rating: – (119)
- Current version: v2.0.1 | 7/4/2021 | Free
JellyFish Theme
It is also a beautiful theme. The font (Hermit) and colors used by the theme is easy on the eyes. The colors used by this theme for highlighting code are Aqua Blue, Purple, Dark Yellow, and Pinkish-Red.
Here are some of the stats:
- No. of Installs: 75,788 installs
- Rating: – (5)
- Current version: v0.0.4 | 2/8/2022 | Free
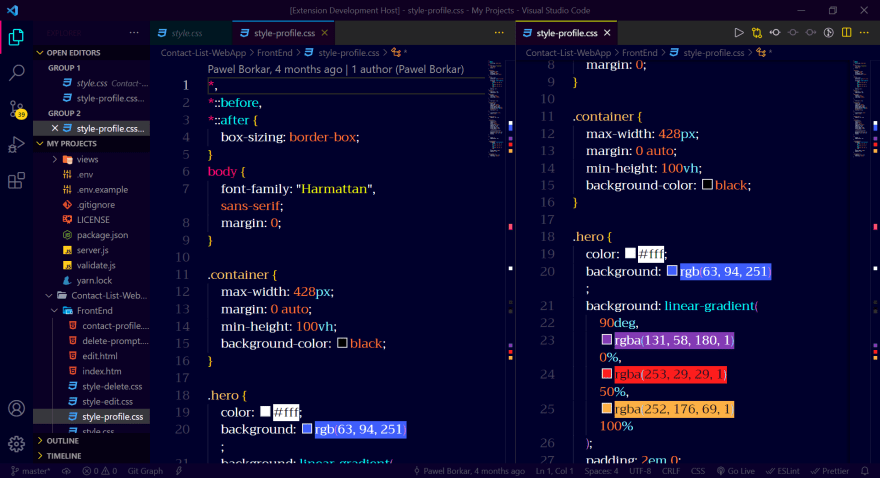
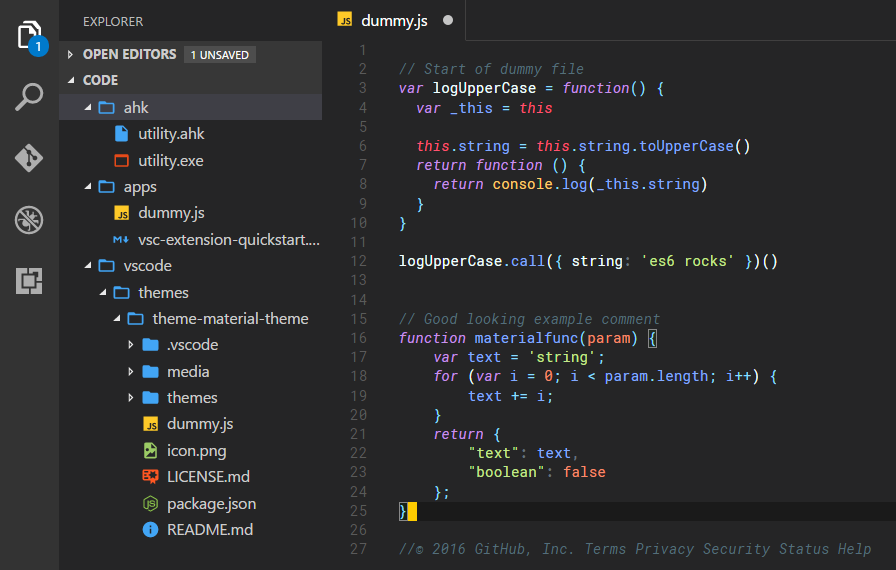
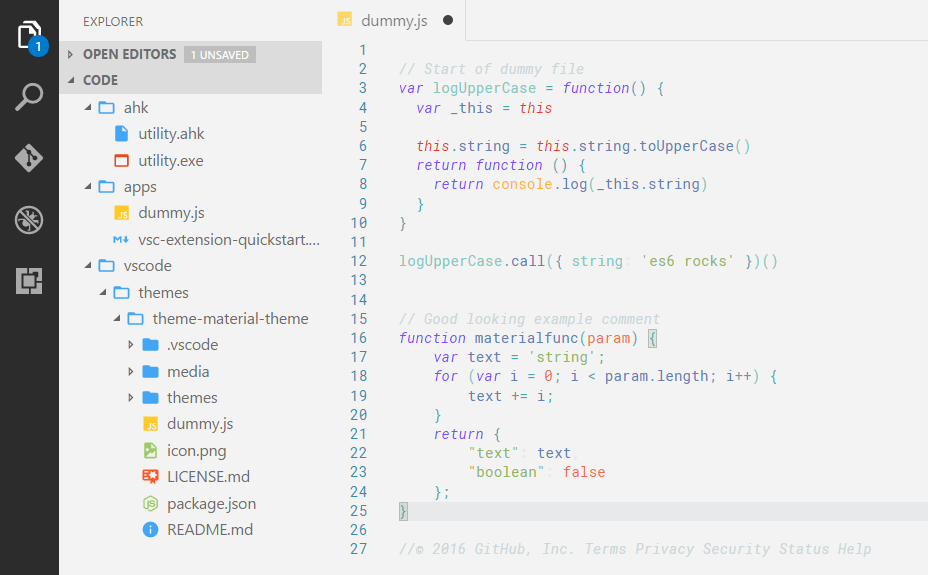
Sublime Material Theme
This is simply a port to align the style of the theme with the default VSCode chrome that cannot be changed atm. It has both dark and light theme options, however it was last update long time ago, in 2016.
Dark Theme
Light Theme
Here are some of the stats:
- No. of Installs: 568,813 installs
- Rating: – (25)
- Current version: v1.0.1 | 11/27/2016 | Free
There are lots of amazing themes in the marketplace and these are just few. Must have themes at least in my opinion. Maybe you have a better choice and if you have any let us know your favorite theme that make you more productive.
If you want to know about best VSCode extensions for 2022 then please read this article.