Visual studio code extensions for faster and efficient coding
Visual Studio Code is undoubtedly the most popular code editor today. It is lightweight code editor developed by Microsoft for Windows, Linux and macOS. It includes various features such as syntax highlighting, debugging, intelligent code completion, snippets, embedded Git, code refactoring and many more. VS Code provides better performance and stability compared to other code editors in the market.
Microsoft has huge market place for VS Code where developers able to get third party plugins and extensions, availing VS Code more rich and efficient. Today we are discussing top plugins and extensions for VS Code which provides invaluable to the speed and quality to your projects.
In this guide, we’ll explore the following extensions.
- Git Lens
- Github Copilot
- Peacock
- Tailwind CSS IntelliSense
- Bracket Pair Colorizer
- ES7+ React/Redux/React-Native snippets
- Prettier – Code formatter
- Auto Rename Tag
- Live Share
- Vscode-Icons
- TODO Highlight
- Tabnine AI Autocomplete for Javascript, Python, Typescript, PHP, Go, Java, Ruby & more
- Live Server
- Remote – SSH
- JavaScript Code Snippets
- SQL Server (mssql)
- Run
- ESLint
- Visual Studio Intellicode
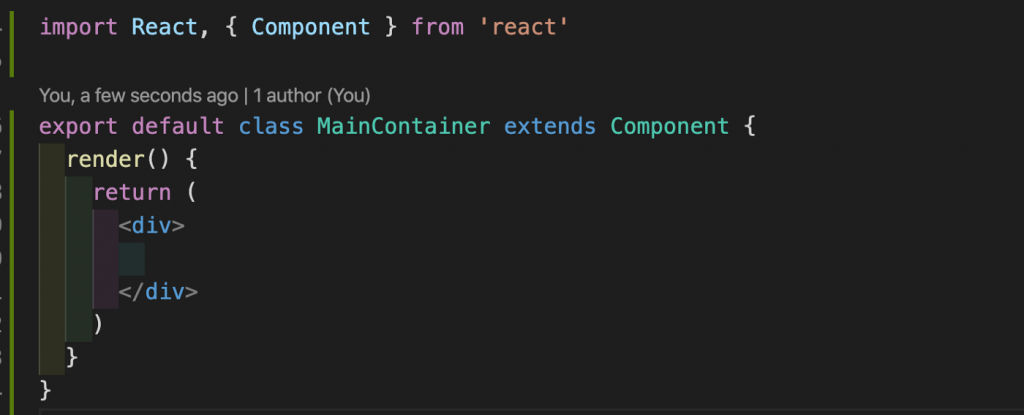
1. Git Lens
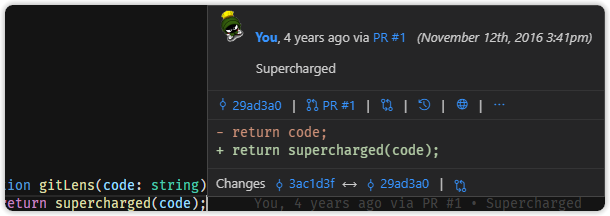
GitLens supercharges the Git capabilities. GitLens helps you to understand code better. This powerful and feature rich tool helps to quickly look into code changes such as who, why, and when a line or code block was changed. You are able to find code history to gain further insights as to how and why the code evolved. With this tools, you can effortlessly explore the history and evolution of a codebase.
Here are just some of the unique features GitLens provides,
- Effortless revision navigation (backwards and forwards) through the history of a file
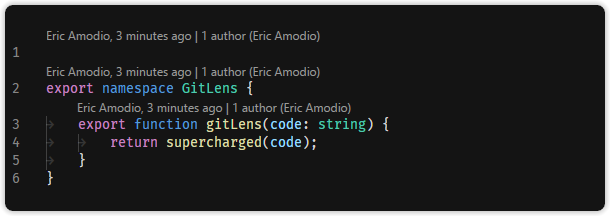
- Authorship code lens showing the most recent commit and number of authors at the top of files and/or on code blocks
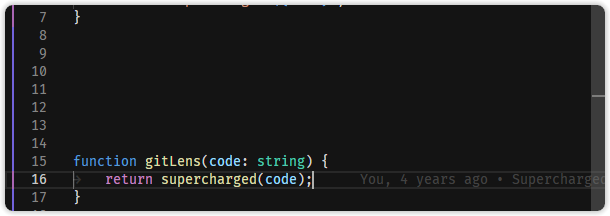
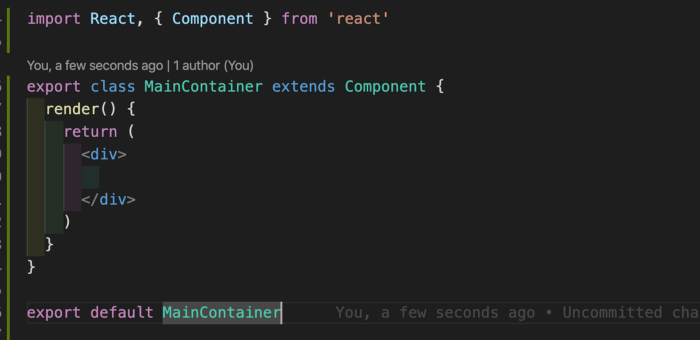
- A status bar blame annotation showing the commit and author who last modified the current line
- Code changes — highlights any local (unpublished) changes or lines changed by the most recent commit
- Heatmap — shows how recent and often lines were changed, relative to all the other changes in the file and to now (hot vs. cold)

2. Github Copilot
GitHub Copilot uses OpenAI Codex to suggest code and entire functions in real-time right from your editor. Trained on billions of lines of public code, GitHub Copilot turns natural language prompts including comments and method names into coding suggestions across dozens of languages.
The primary goal of GitHub copilot is to make it easier for software engineers to collaborate more efficiently on projects by conducting real-time reviews of each other’s codes with the added benefit of being able to provide feedback at any time during the development cycle.

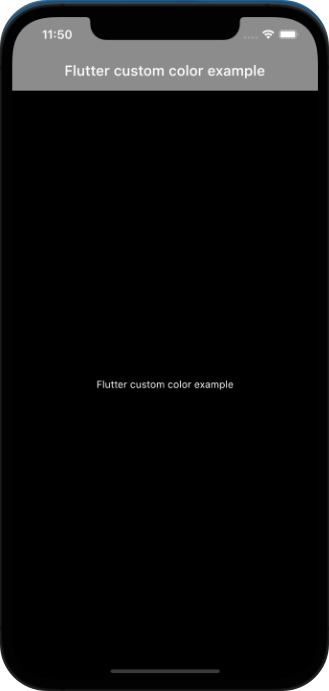
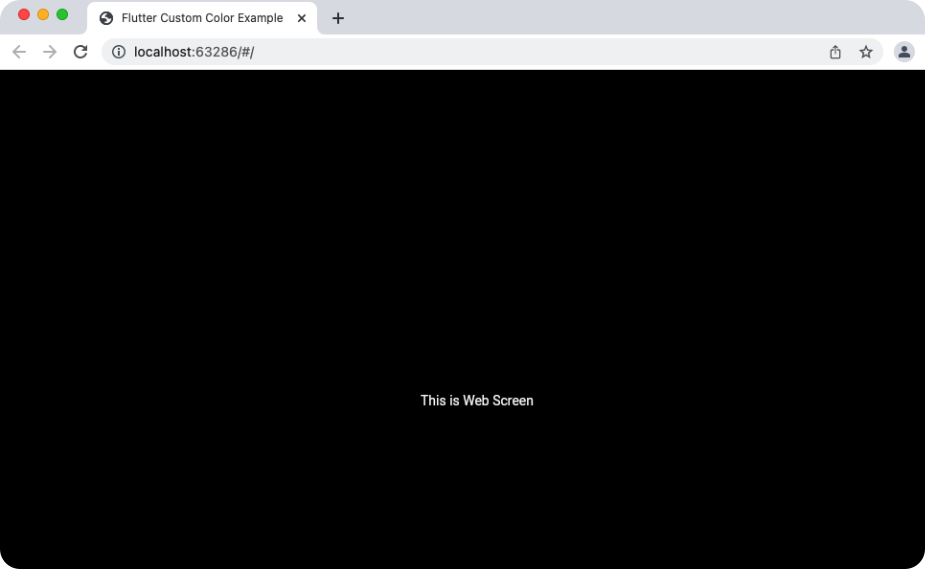
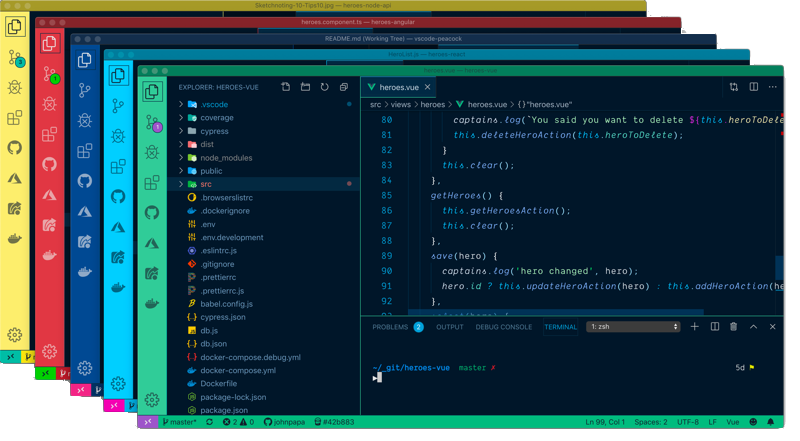
3. Peacock
Developers love to open multiple windows of VS Code as they work on more than one projects at the same time. For example, both backend and front end project could be opened in two separate VS Code instances and developers might want move from one project to another. Using this extension developers able to change the color of each project windows, so that it can be quickly identify which project or repo they are working.
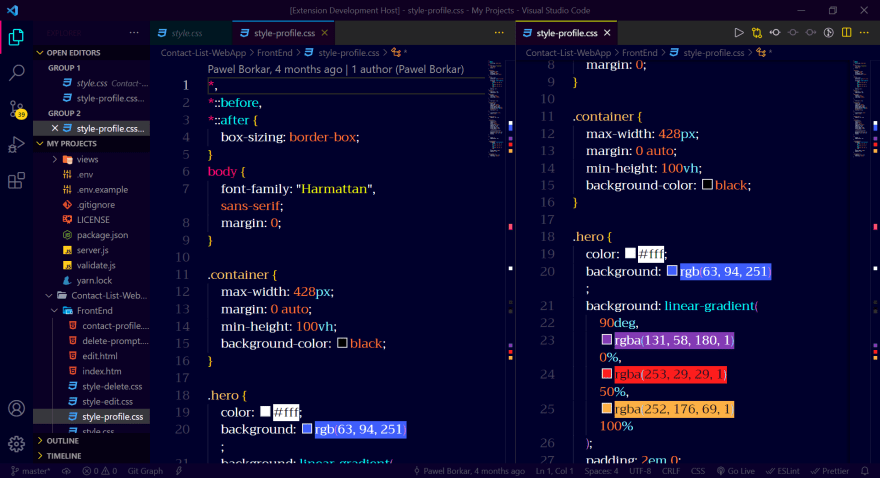
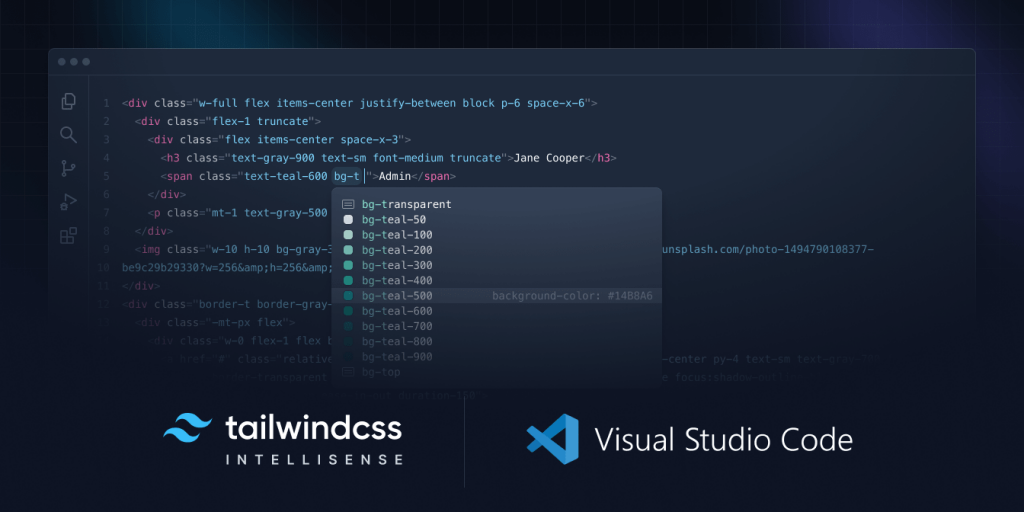
4. Tailwind CSS IntelliSense
TailwindCSS is a utility-first CSS framework that has been gaining huge attention among the web developers. If you love Tailwind CSS then this is a must have extension to have. It is a free extension, published by Tailwind Labs (bradlc). This extension provides autocomplete, syntax highlighting, and linting for Tailwind classes. With this extension, developers don’t need to memorize the exact spelling of all the utility classes or to spend the time typing them out.
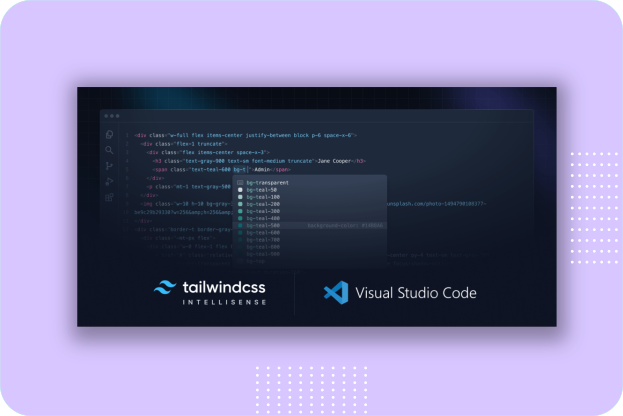
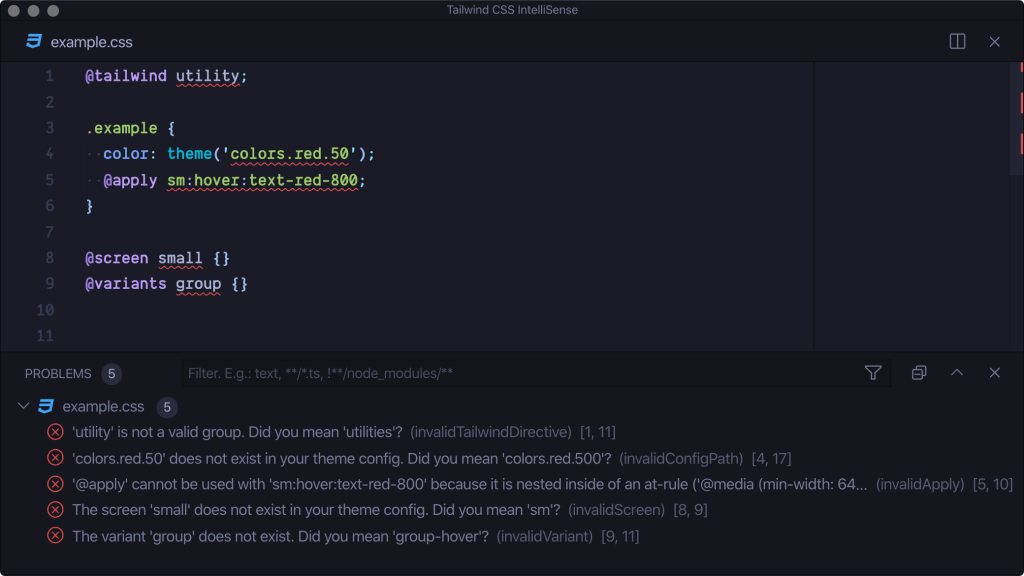
Linting
Linting highlights errors and potential bugs in both your CSS and your markup. It is the process of checking the source code for Programmatic as well as Stylistic errors.
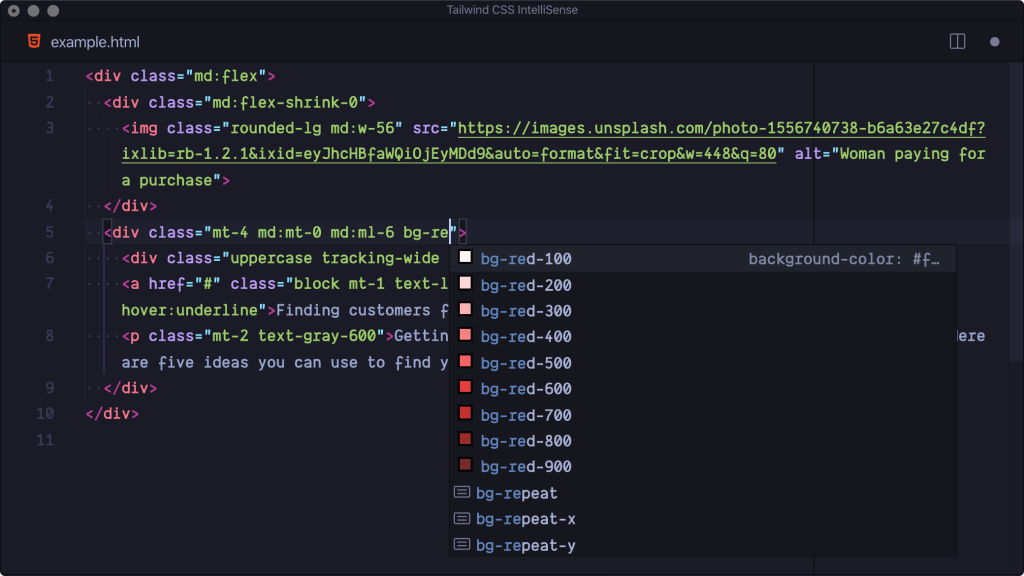
Autocomplete
Intelligent suggestions for class names, as well as CSS functions and directives.
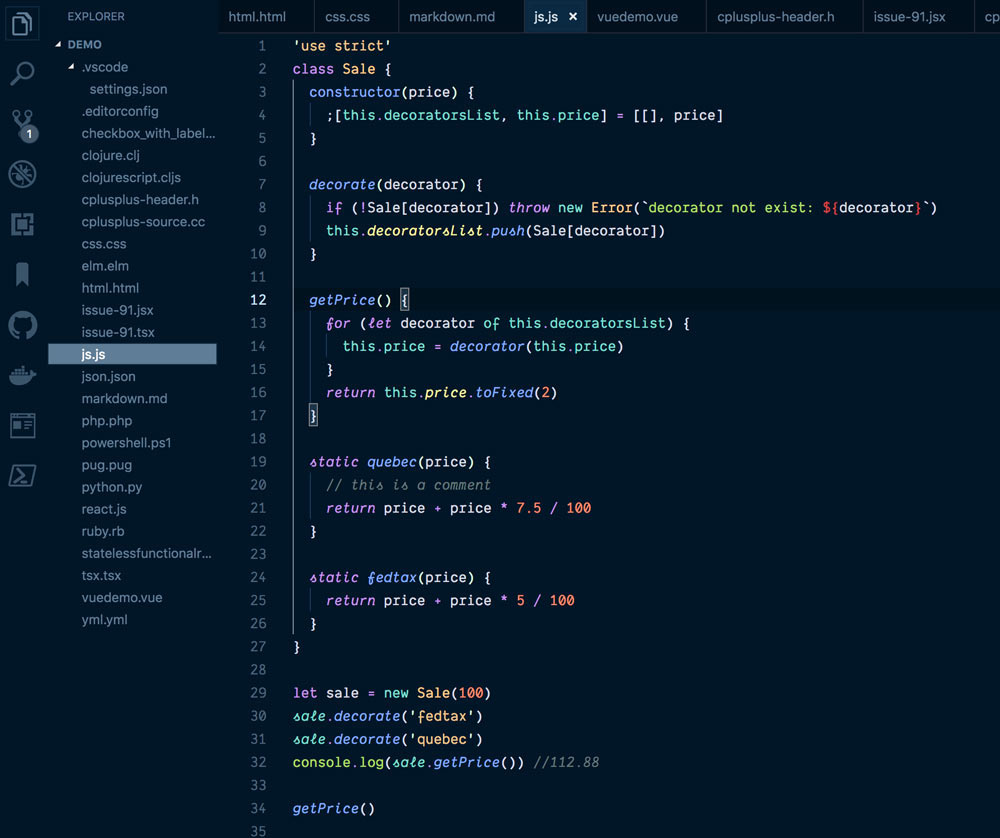
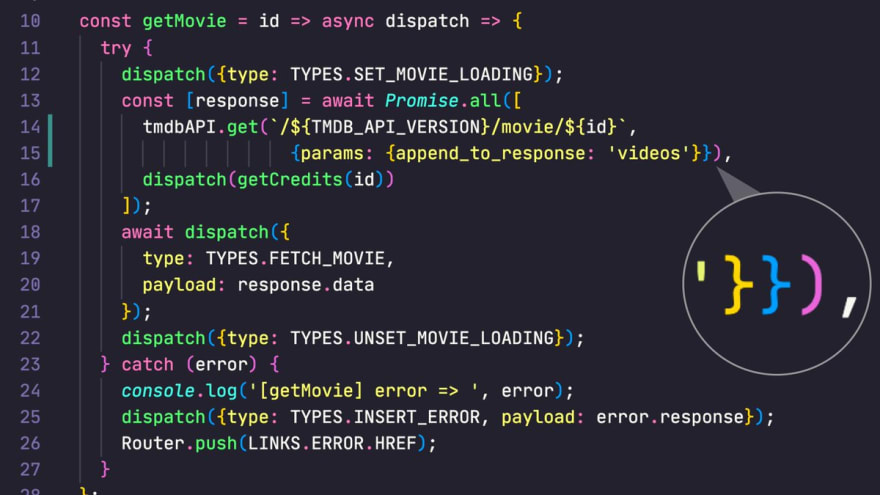
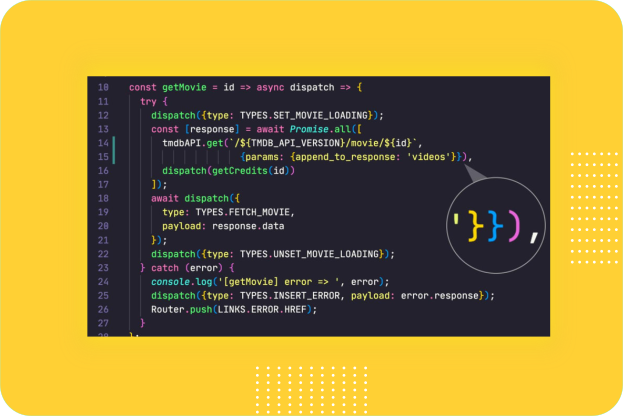
5. Bracket Pair Colorizer
As our functions get more complex, it becomes more challenging to keep track of opening and closing brackets such as parentheses and curly braces.
We can use a VS Code extension called Bracket Pair Colorizer to add color to each set of opening and closing brackets, making it easier to identify each set of brackets. Many people found it useful however from the beginning, however the development and maintain of the plugin will no longer be continue.
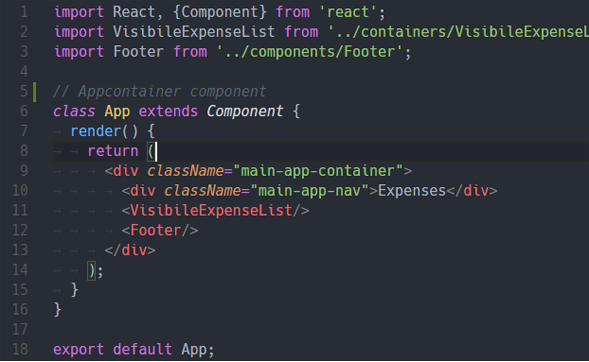
6. ES7+ React/Redux/React-Native snippets
If you are a true ReactJS developer then this is a must have snippet for you, because it simply does just right for you. This plugin provides you JavaScript and React/Redux snippets in ES7 with Babel plugin features for VS Code.

7. Prettier – Code formatter
Developers have different opinions on how to format the code structure so it would be readable. Prettier was created as a means of alleviating this challenge and ensures one unified code format within the development team.
Prettier reformats your JavaScript code consistently so that it make easy to read and understand the code. This plugin helps to format spacing, variable declarations, semi-colons, trailing commas and much more.
You can configure Prettier to format your files when saving them or committing them to a version control system (e.g. Git, SVN). This way, you do not have to worry about your source code formatting and Prettier takes care about it.

8. Auto Rename Tag
Most of the tags in HTML/XML need a corresponding closing tag. When writing large applications which consists of thousands and sometime millions of lines of code, the corresponding closing tags might located at very bottom of the editor, where developers has to scroll hundreds and thousand of lines below. It is tedious if you want to rename the tags.
Auto Rename Tag provides us with a feature that when we change the starting tag it will automatically rename paired HTML/XML tag, same as Visual Studio IDE does, making the renaming of tags easier.
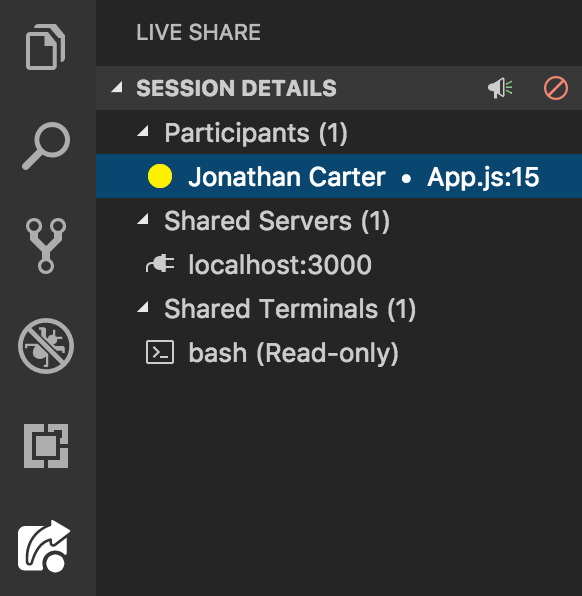
9. Live Share
Another great contribution by Microsoft. Live Share enables you to collaboratively edit and debug code with other developers in real time. Using this tools, pair programming has become more convenient, where developers can instantly and securely share the project with other developers.
Common features it includes, debugging sessions, terminal instances, localhost web apps, voice calls, and more! It shares all of their editor context meaning, other developers do not worry about cloning any repos or SDKs installation for code review and debugging process.

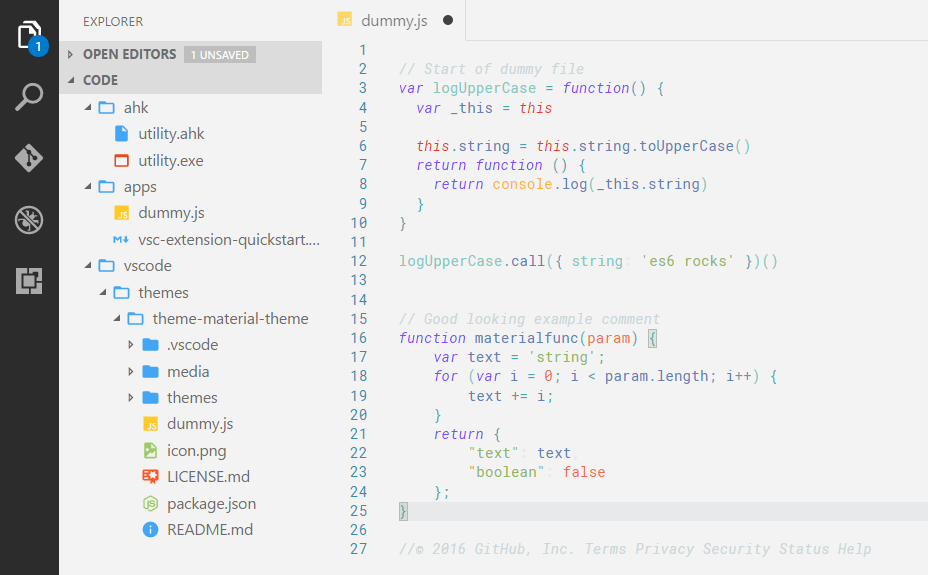
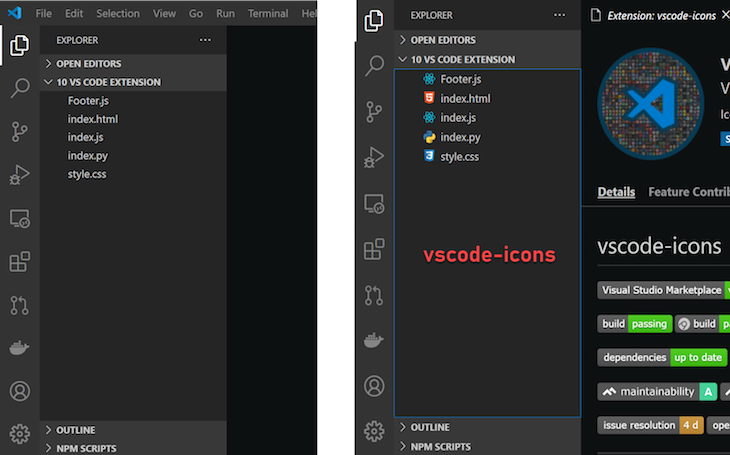
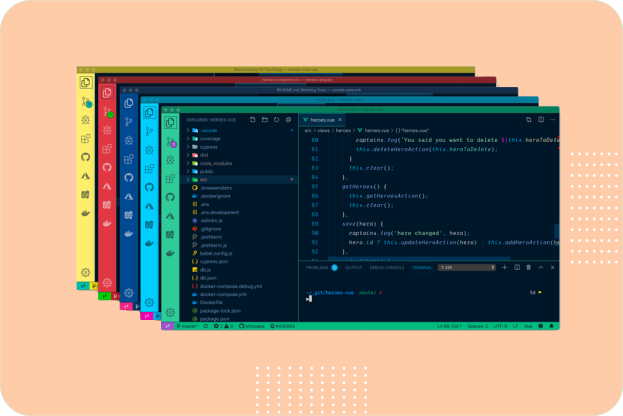
10. Vscode-Icons
Having descriptive icons help you differentiate between files and folders in the project. Having icons in your project make more interesting and attractive. Below diagram depict different between two VS Code tabs with One having icons, the other does not.
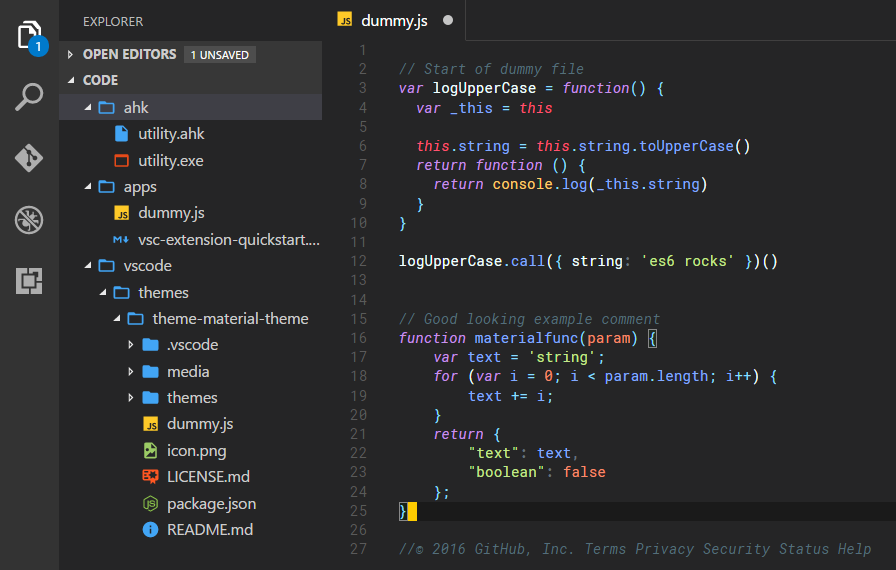
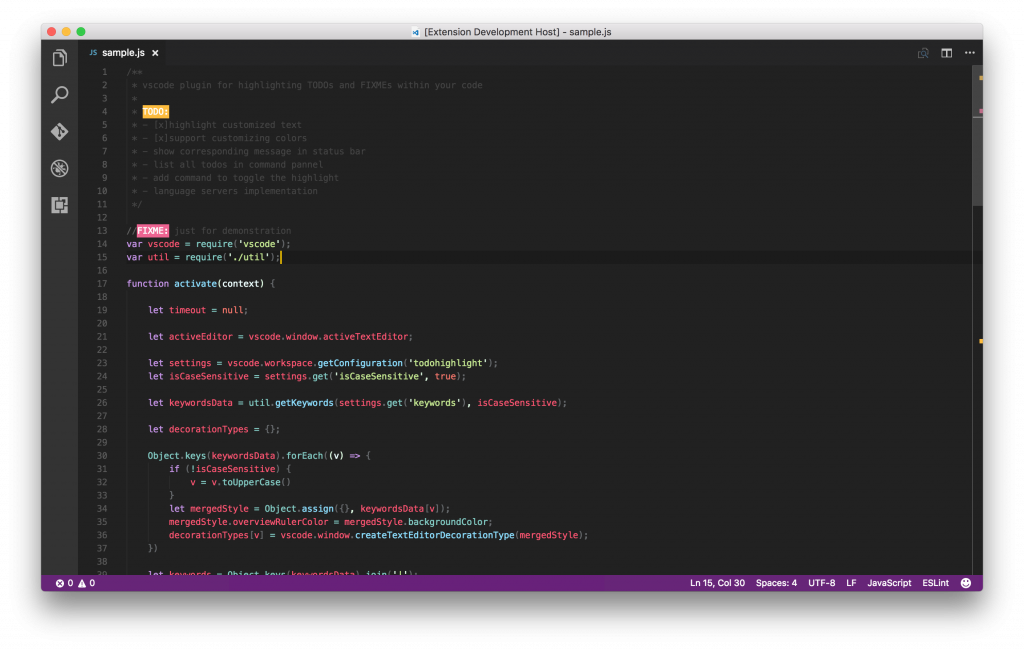
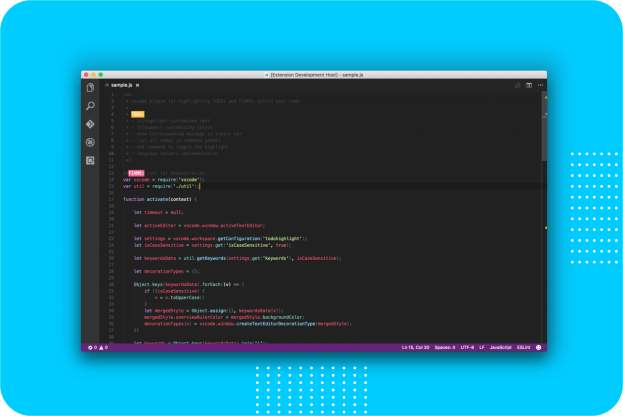
11. TODO Highlight
This plugin lets you to highlight TODO, FIXME and other annotations within your code. This is really a useful plugin for highlighting comments such as NOTE: , TODO: , DEBUG:. The customization settings are also quite extensive making it perfect for the developer, thus leading level up your comments on any project.
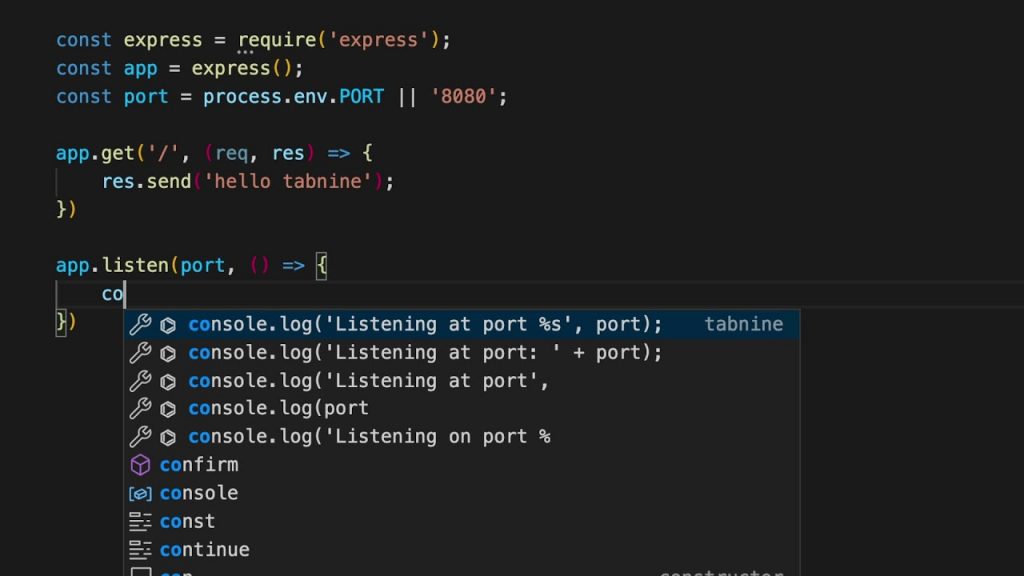
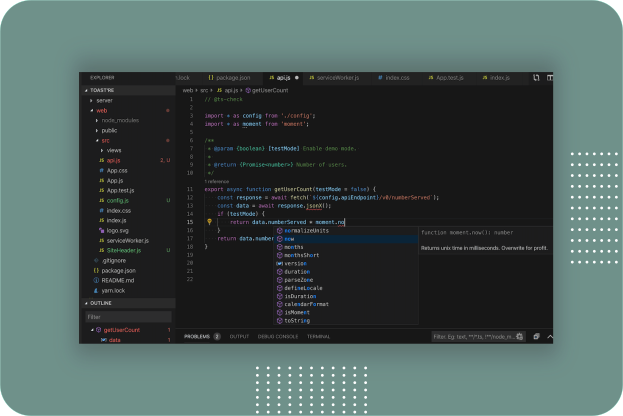
12. Tabnine AI Autocomplete for Javascript, Python, Typescript, PHP, Go, Java, Ruby & more
Tabnine is the AI code completion assistant already trusted by millions of developers to amplify coding accuracy and boost productivity. Whether you are a new dev or a seasoned pro, working solo or part of a team, Tabnine AI assistant will suggest team-tailored code completions in most popular coding languages and all your favorite IDEs.
Tabnine is powered by sophisticated machine learning models. It is trained on more than a billion lines of open-source code from GitHub.
Tabnine suggests and predicts code as you write. This powerful extension speed up your development, save you tons of time and cutting your coding time in half. Currently it support almost all the popular programming languages including Python, Javascript, Java and React.
Tabnine’s Team Learning Algorithm studies your team’s code, preferences, and patterns, continuously learning and adapting. Every interaction with a team member amplifies code completion accuracy.
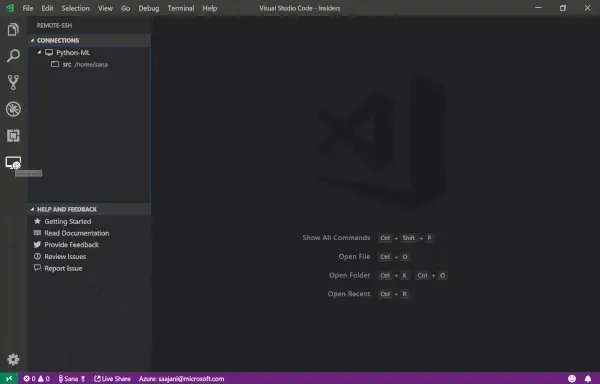
13. Remote – SSH
Remote – SSH extension is a product from Microsoft, which lets you use any remote machine with a SSH server as your development environment. It helps to simplify development and troubleshooting in a wide variety of situations. You can:
- Develop on the same operating system you deploy to or use larger, faster, or more specialized hardware than your local machine.
- Quickly swap between different, remote development environments and safely make updates without worrying about impacting your local machine.
- Access an existing development environment from multiple machines or locations.
- Debug an application running somewhere else such as a customer site or in the cloud.
No source code needs to be on your local machine to gain these benefits since the extension runs commands and other extensions directly on the remote machine. You can open any folder on the remote machine and work with it just as you would if the folder were on your own machine.
14. JavaScript Code Snippets
This extension contains code snippets for JavaScript in ES6 syntax for Vs Code editor (supports both JavaScript and TypeScript). The extension supports JS, TypeScript, JS React, TS React, HTML, and Vue.
15. SQL Server (mssql)
An extension for developing Microsoft SQL Server, Azure SQL Database and SQL Data Warehouse everywhere with a rich set of functionalities, including:
- Connect to Microsoft SQL Server, Azure SQL Database and SQL Data Warehouses.
- Create and manage connection profiles and most recently used connections.
- Write T-SQL script with IntelliSense, Go to Definition, T-SQL snippets, syntax colorizations, T-SQL error validations and
GObatch separator. - Execute your scripts and view results in a simple to use grid.
- Save the result to json or csv file format and view in the editor.
- Customizable extension options including command shortcuts and more.
16. Run
Run code snippet or code file for multiple languages: C, C++, Java, JavaScript, PHP, Python, Perl, Perl 6, Ruby, Go, Lua, Groovy, PowerShell, BAT/CMD, BASH/SH, F# Script, F# (.NET Core), C# Script, C# (.NET Core), VBScript, TypeScript, CoffeeScript, Scala, Swift, Julia, Crystal, OCaml Script, R, AppleScript, Elixir, Visual Basic .NET, Clojure, Haxe, Objective-C, Rust, Racket, Scheme, AutoHotkey, AutoIt, Kotlin, Dart, Free Pascal, Haskell, Nim, D, Lisp, Kit, V, SCSS, Sass, CUDA, Less, Fortran, Ring, Standard ML, and custom command.
17. ESLint
ESLint is an open source project that helps you find and fix problems with your JavaScript code. It doesn’t matter if you’re writing JavaScript in the browser or on the server, with or without a framework, ESLint can help your code live its best life.
18. Visual Studio Intellicode
The Visual Studio IntelliCode extension provides AI-assisted development features for Python, TypeScript/JavaScript and Java developers in Visual Studio Code, with insights based on understanding your code context combined with machine learning.
Wrap up
In this article, we have reviewed top VS Code extensions that can help to make you a better programmer and boost your productivity. There are many more other plugins and extensions that do the same or better, so If you have any such tools then feel free to share us.