Tag Archives: coding

12 Websites You’ll Love As A Developer

12 Websites You’ll Love As A Developer

Websites are now an essential tool for every business. And if you are a web developer and need to find new material or resources, then this is the place for you. As a developer, it is not easy to find a website that can provide all the resources and information that you need. This article will take you through 12 websites that you’ll love as a developer.
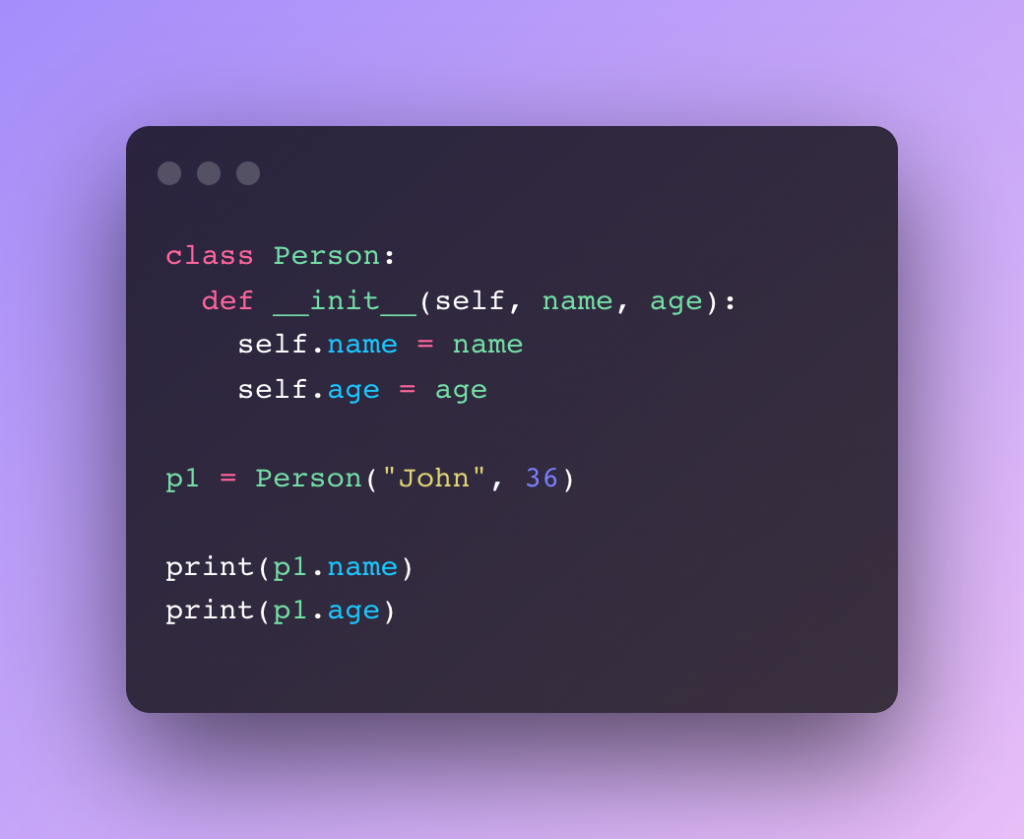
Ray.so

Turn your code into beautiful images using this site. You can choose from a range of syntax colors, hide or show the background, and toggle between a dark and light window. If you are a developer you can easily create beautiful screenshots of source code through this app and share on various social apps such as instagram, twitter and facebook.
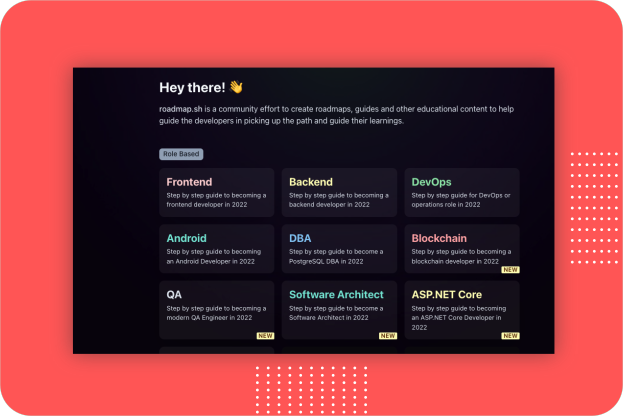
ray.so

Roadmap.sh

Roadmap.sh is a community effort to create roadmaps, guides and other educational content to help guide the developers in picking up the path and guide their learnings. It contains community curated roadmaps, study plans, paths and resources for developers newly entered into this space. It started as a set of charts to guide the developers who are confused about what should learn next.
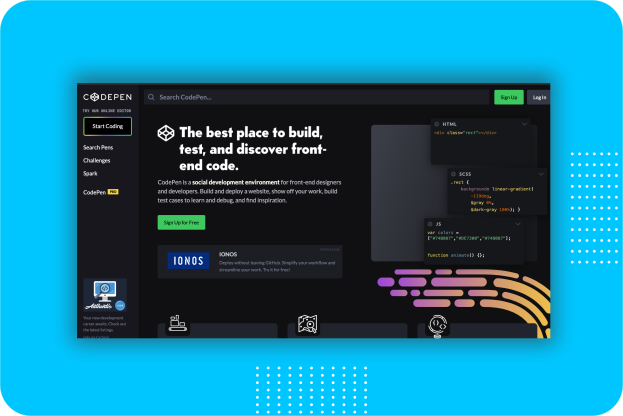
roadmap.sh

Codepen.io

CodePen is a social development environment. It allows you to write code in the browser, and see the results of it as you build. You can build and deploy websites, show off your work, build test cases to learn and debug, and find inspiration. You can also browse and share work from other designers and developers in the front-end community.

Codepen Pro having Pair Program feature where you can use Collab Mode which allows more than one person to edit a Pen at the same time. This is real-time pair programming at its best, since the two (or more) people can be anywhere in the world and it’s not nearly as bandwidth-intensive as video.
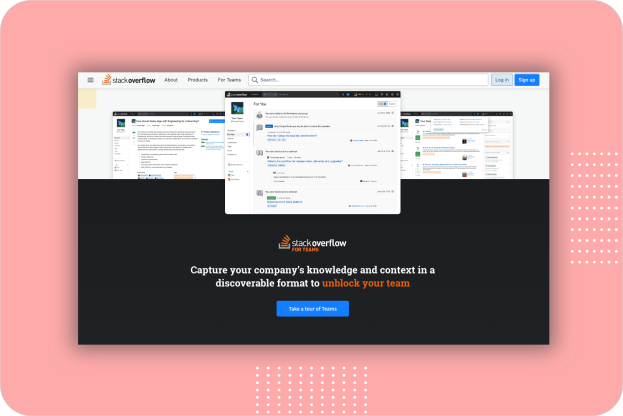
codepen.io

Stack Overflow

It is the most common website all most all developers using in everyday work. Stack Overflow is a question-and-answer site for computer programming questions, especially those related to specific programming languages. It also offers professional development opportunities to its members through online courses, certificates, and job listings. Stack Overflow is a public Q&A platform that over 100 million people visit every month to ask questions, learn, and share technical knowledge.
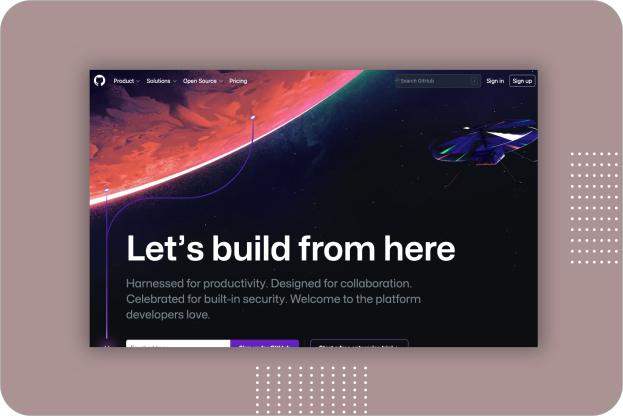
stackoverflow.com

Github

GitHub is a website that hosts Git repositories and provides social networking-like features for programmers to share their projects. Github is the complete developer platform to build, scale, and deliver secure software.

GitHub is where over 94 million developers shape the future of software, together. It Supercharge your development process. Github provides unlimited repositories, best-in-class version control, and the world’s most powerful open source community—so your team can work more efficiently together.
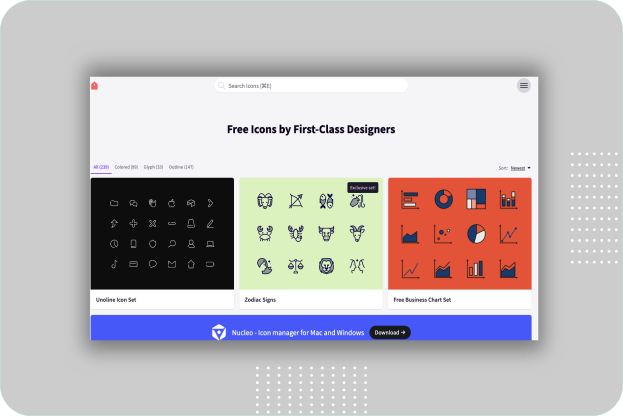
github.com

Iconstore.co

IconStore is a library of free, vector (SVG) icons created by talented designers to download for commercial use.

All the icons published on the IconStore are made to be used freely.

🟢 Permissions:

  • ✔ You can use the icons in personal and commercial projects
  • ✔ You can modify the icons
  • ✔ No attribution required (although it’s appreciated!)
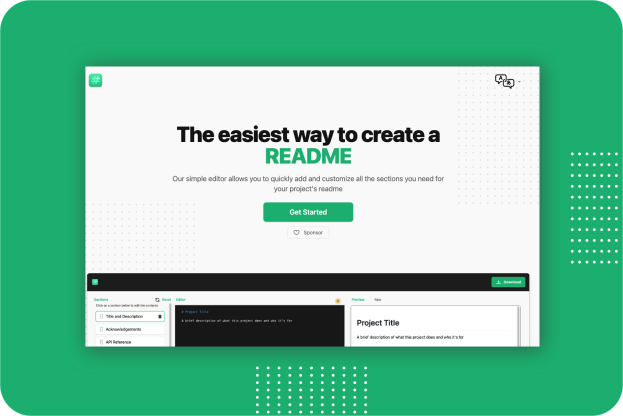
iconstore.co

Readme.so

Use markdown editor and templates to easily create a ReadMe for your next projects. Easy way to create a README file using simple editor provided by the application. It allows you to quickly add and customize all the sections you need for your project’s readme.
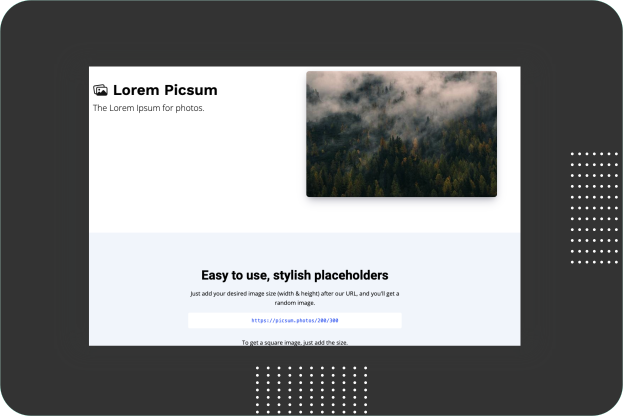
readme.so

Lorem Picsum

Lorem Picsum provides random or specific uploaded images as placeholders. Here you can view all the images Lorem Picsum provides. Developers need to specify a desired image size (width & height) at the end of the request URL.

picsum.photos

GitBook

GitBook is a modern documentation platform where teams can document everything from products to internal knowledge bases and APIs. It makes it easy to research, plan and document products, from start to ship.
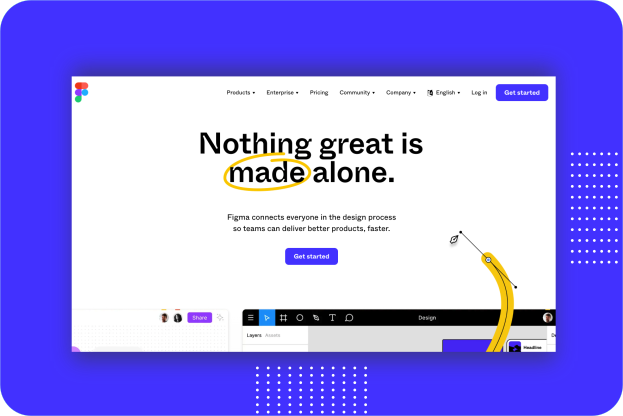
gitbook.com

Figma

Figma is a collaborative web application for interface design, with additional offline features enabled by desktop applications for macOS and Windows. Build an iterative design flow with live collaboration that keeps you in the loop whether you’re working in the office or remotely. This has enabled our product teams to ship new products faster and feel more confident in their decisions.
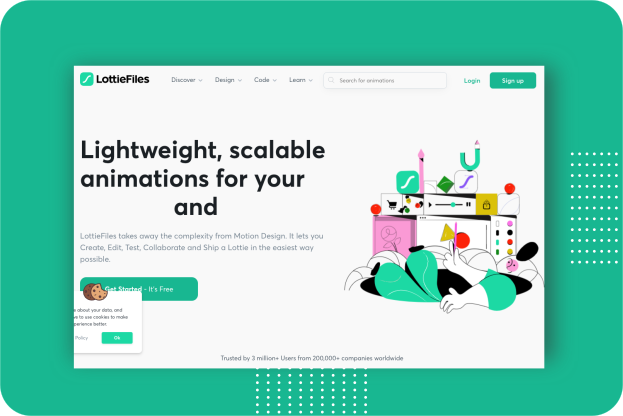
figma.com

LottieFiles

Lottie is a JSON-based animation file format that enables designers to ship animations on any platform as easily as shipping static assets. They are small files that work on any device and can scale up or down without pixelation. LottieFiles lets you create, edit, test, collaborate and ship a Lottie in the easiest way possible. LottieFiles takes away the complexity from Motion Design.
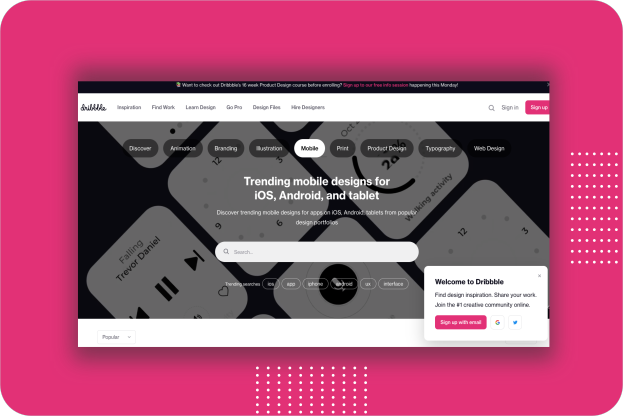
lottiefiles.com

Dribbble

Millions of designers and agencies around the world showcase their portfolio work on Dribbble. Dribbble is the world’s leading destination for designers to learn, share, grow, and get hired. Dribbble market place brings you creative projects to life starting from fonts, graphics, themes, photos, and templates designed, mockups and 3D models created by independent creators around the world.

dribbble.com

There you have it. Thanks for checking this out and do not forget to try these tools.

How to Add Custom Fonts to NextJS and Tailwind CSS Application

Add Custom Fonts to NextJS and Tailwind CSS Application

Tailwind CSS offers powerful capabilities to build visually appealing websites in a short time frame. To give your website a unique look and feel, you can choose to add custom fonts to NextJS project using Tailwind configuration.

Setting up a custom font in Next.js using Tailwind CSS is fairly easy. It needs 3 easy steps.

  • Installation and setting up _document.js
  • Declaring custom font family in tailwind.config.js
  • Using it in your components and pages.

For this tutorial, we will use Montserrat, a free Google Font. So let us begin installation process.

Create Your NextJs Project

The quickest way to start using Tailwind CSS in your Next.js project is to use the Next.js + Tailwind CSS Example. This will automatically configure your Tailwind setup based on the official Next.js example. If you’d like to configure Tailwind manually, continue with the rest of this guide.

Create your project

Start by creating a new Next.js project if you don’t have one set up already. The most common approach is to use Create Next App.

npx create-next-app nextjs-tailwind-tips
cd nextjs-tailwind-tips

If everything has goes well, you will see something like this on your terminal.

Install Tailwind CSS

Install tailwindcss and its peer dependencies via npm, and then run the init command to generate both tailwind.config.js and postcss.config.js.

npm install -D tailwindcss postcss autoprefixer
npx tailwindcss init -p

Configure your template paths

Add the paths to all of your template files in your tailwind.config.js file.

module.exports = {
  content: [
    "./pages/**/*.{js,ts,jsx,tsx}",
    "./components/**/*.{js,ts,jsx,tsx}",
  ],
  theme: {
    extend: {},
  },
  plugins: [],
}

Add the Tailwind directives to your CSS

Add the @tailwind directives for each of Tailwind’s layers to your ./styles/globals.css file.

@tailwind base;
@tailwind components;
@tailwind utilities;

Add Google Font to _document.js File

A custom Document can update the <html> and <body> tags used to render a Page. This file is only rendered on the server, so event handlers like onClick cannot be used in _document.

To override the default Document create a new custom document file _document.js in your pages folder next-project/pages/ and set it up with the following code:

Go to Google Fonts and search for the specific font you like. For this tutorial, we will use Montserrat, a free Google Font. Select the style variants from thin (100) to bold (900). Copy the link provided by Google and past in between the Head tags.

import Document, { Html, Head, Main, NextScript } from "next/document";

function MyDocument() {
  return (
    <Html>
      <Head>
        <link
          href="https://fonts.googleapis.com/css2?family=Montserrat:wght@100;200&display=swap"
          rel="stylesheet"
        />
      </Head>
      <body>
        <Main />
        <NextScript />
      </body>
    </Html>
  );
}

export default MyDocument;

Now, it’s time to configure the tailwind.config.js file. Go to Add tailwind.config.js and add Montserrat as the font family for your app. Also remember to add defaulTheme for the app as shown below.

/** @type {import('tailwindcss').Config} */
const defaultTheme = require("tailwindcss/defaultTheme");

module.exports = {
  mode: "jit",
  purge: ["./pages/**/*.{js,ts,jsx,tsx}", "./components/**/*.{js,ts,jsx,tsx}"],
  darkMode: false, // or 'media' or 'class'
  theme: {
    extend: {
      fontFamily: {
        Montserrat: ["Montserrat", ...defaultTheme.fontFamily.sans],
      },
    },
  },
  variants: {
    extend: {},
  },
  plugins: [],
};

Start Using Custom Font

Go to your Components or Pages, in this case for simplicity we are using _app.js file to custom font. Add className=”font-fontname” to the element. The fontName here refers to the name we gave to the font family in the previous step in this case Montserrat.

import Head from "next/head";
import Image from "next/image";

export default function Home() {
  return (
    <div>
      <Head>
        <title>Create Next App</title>
        <meta name="description" content="Generated by create next app" />
        <link rel="icon" href="/favicon.ico" />
      </Head>

      <main>
        <h1 className="w-full text-center py-12 font-Montserrat text-3xl font-bold">
          Hello world! Im Montserrat Font
        </h1>
      </main>
    </div>
  );
}

Now you will be able to see the custom font you just added to your app.

Code is available on GitHub repo.

How to Build a Multiselect Dropdown Component Using React-select

React select dropdown tutorial using react-select. (1)

In this tutorial, you will learn how to use react-select library to create a dropdown selection in your React app. Before that, let’s first understand what React-select is and why should you use this library in your React.js project.

React-select

React-select is an easy to use dropdown library create by Jed Watson and few other awesome contributors. It is a powerful library, offers various features such as multi-select, autocomplete and many more. This is a perfect choice for your next Reactjs project, providing numerous dynamic functionalities to the dropdown components including search and filter functionality, animation, easy accessibility and faster loading time.

Features provided by React-select package include:

  • Flexible approach to data with customizable functions.
  • It handle large number of dataset.
  • Simple customization with API support.
  • Controllable state props and modular architecture.
  • Manage component state easily.
  • CSS styling with emotion support. Provide CSS animation support for components.
  • Long-requested features like option groups, portal support, animation, and more

Step 1: Install React and other libraries

Dependencies used for this project.

  • React-Select Library
  • TailwindCSS for CSS and styling (optional- you can use any styling library)

Run the following command to install a brand new React project. You can either use yarn or npm, but for this tutorial, npx is used. This will create a React app for us.

npx create-react-app react-select

Change the directory and get inside to the project folder. You can always clean the project just a little bit. Remove the files you do not required for this project.

cd react-select

Install Tailwind CSS

Install TailwindCSS and its peer dependencies via npm, and then run the init command to generate both tailwind.config.jsand postcss.config.js.

npm install -D tailwindcss postcss autoprefixer
npx tailwindcss init -p

Configure your template paths

Add the paths to all of your template files in your tailwind.config.jsfile.

module.exports = {
  content: [
    "./src/**/*.{js,jsx,ts,tsx}",
  ],
  theme: {
    extend: {},
  },
  plugins: [],
}

Add the Tailwind directives to your CSS

Add the @tailwinddirectives for each of Tailwind’s layers to your ./src/index.cssfile.

@tailwind base;
@tailwind components;
@tailwind utilities;

Start using Tailwind in your project

Start using Tailwind’s utility classes to style your content and it will reflects the changes you make to the app.

Install React-Select Library

Now, this is important step. We need to install React-select package. For that simply run the following command.

npm i react-select

Once it is installed, you can now import the react-select module any where in our project. For simplicity it is imported in src/App.js file.

Now create a function that will handle our selected value. Name it setHandle and call it on the component. It will change the current value once user click to the dropdown.

import "./App.css";
import React, { useState, Component } from "react";
import Select from "react-select";

const Hotels = [
  { value: 1, label: "Coral Beach Maldives" },
  { value: 2, label: "Ilaa Beach Maldives" },
  { value: 3, label: "Finolhu" },
  { value: 4, label: "Arena" },
  { value: 5, label: "Kaani Beach Hotel" },
];

function App() {
  const [selectedOptions, setSelectedOptions] = useState(null);

  const setHandle = (e) => {
    setSelectedOptions(Array.isArray(e) ? e.map((hotel) => hotel.label) : []);
  };

  return (
    <div className="mx-auto container py-8">
      <h1 className="text-sm">Select Hotels</h1>
      <div className="flex flex-wrap items-center lg:justify-between justify-center">
        <div className=" px-2	">
          <Select options={Hotels} onChange={setHandle} isMulti />
        </div>
        <div>{selectedOptions}</div>
      </div>
    </div>
  );
}

export default App;

An array named Hotels is created, it then pass the hotel list to the dropdown. Hotel names is displayed when a user clicks on the dropdown and select element with the help of the react-select library.

There are many other properties available and common props you may want to specify include:

  • autoFocus – focus the control when it mounts
  • isDisabled – disable the control
  • isMulti – allow the user to select multiple values
  • isSearchable – allow the user to search for matching options
  • name – generate an HTML input with this name, containing the current value
  • onChange – subscribe to change events
  • options – specify the options the user can select from
  • placeholder – change the text displayed when no option is selected

React Multi Select Dropdown

Multi select option is one of the popular properties provided by this library. let us understand how this is used in a React project. It is actually very easy, simply you need to add isMulti prop to select various value in a select dropdown.

<Select options={Hotels} onChange={selHandle} isMulti />

Thats all for now! You can find code for this tutorial in this GitHub repo

How to Add Tailwind CSS to Your Reactjs Project

Tailwind CSS to ReactJS project

Tailwind CSS is a utility-first CSS framework which is used to make your website more responsive and beautiful. It is well known modern CSS frameworks which helps to speed up the development and styling process significantly. If you’re new to Tailwind CSS please follow the official documentation of Tailwind CSS and find a good starting point at the project’s homepage at TailwindCSS.

Setting up your React project with Tailwind CSS is so simple and comprises only very few steps. In this tutorial you will learn step-by-step approach of installing Tailwind CSS into your React project and get started using Tailwind’s CSS classes for styling.

Step 1: Creating Your React Project

Creating your new React.js project is the very first step. The easiest way to create a new project is to use the create-react-app script on the command line.

npx create-react-app react-app-with-tailwind

Now, cd into the working directory.

cd react-app-with-tailwind

If everything goes well, you should be able to see your react project on the web browser when you run the following command.  

npm run start

Step 2: Install Tailwind CSS

Now install tailwindcss and its peer dependencies via npm, and then run the init command to generate both tailwind.config.js and postcss.config.js.

npm install -D tailwindcss postcss autoprefixer
npx tailwindcss init -p

Tailwind will create two files. You need to make small changes so it will works well for our Reactjs project.

  • tailwind.config.js
  • postcss.config.js

Step 4: Configuring Template Files

You need to specify the path to our Reactjs project files by adding the following configuration setting inside tailwind.config.js. Make sure to add the paths to all of your template files in your tailwind.config.js file.

module.exports = {
   content: [
     "./src/**/*.{js,jsx,ts,tsx}",
   ],
   theme: {
     extend: {},
   },
   plugins: [],
 }

Step 5: Add the Tailwind directives to your CSS

Now add the @tailwinddirectives for each of Tailwind’s layers to your ./src/index.css file.

@tailwind base;
@tailwind components;
@tailwind utilities;

That’s all. You’re good to go! Let’s make use of Tailwind’s CSS classes within our main React component in App.js.

Step 6: Use Tailwind CSS In Your React App

Add the following code to App.js. Start the development web server by using the following command. Now you should be able to see the following result in the browser.

<div className="container mx-auto bg-gray-200 rounded-xl shadow border p-8 m-10">
      <p className="text-3xl text-gray-700 font-bold mb-5">
        Welcome!
      </p>
      <p className="text-gray-500 text-lg">
        React and Tailwind CSS in action
      </p>
    </div>
npm run start

You can find code for this tutorial in this GitHub repo

Best Free VS Code Themes 2022🤩

Best Free VS Code Themes 2022

It is already halfway through 2022 and if you are still looking for any VSCode themes, then here is the list of some of the most popular VS Code themes for 2022 so far.

List of the top 5 VSCode themes – My choice:

  1. Atom One Dark Theme
  2. GitHub Theme
  3. Night Owl Theme
  4. JellyFish Theme
  5. Sublime Material Theme

Atom One Dark Theme

One of the best dark theme port in the marketplace. Atom’s iconic One Dark theme for Visual Studio Code is so popular among developers who loves dark mode.

It has visually pleasing styles and well-blended color schemes, therefore it is considered as one of the most used themes, nearly 3.3 million download in the market place as of today.

Here are some of the stats:

  • No. of Installs:  3,279,542 installs
  • Rating:  4.81/5 (102)
  • Current version: v2.2.3 | 1/4/2021| Free

GitHub Theme

It is popular theme for developers who prefer GitHub’s classic themes. It comes with various new styles, simply you need to select any available theme during installation process. You can choose one of these themes.

  • GitHub Light Default
  • GitHub Light High Contrast ✨ new ✨
  • GitHub Light Colorblind ✨ new ✨
  • GitHub Dark Default
  • GitHub Dark High Contrast
  • GitHub Dark Colorblind ✨ new ✨
  • GitHub Dark Dimmed

There are also two older themes. Note: They might not get updated frequently and are kept for legacy reasons:

  • GitHub Light (legacy)
  • GitHub Dark (legacy)

Here are some of the stats:

  • No. of Installs:  4,349,035 installs
  • Rating: – (120)
  • Current version: v6.0.0 | 2/11/2022 | Free

Night Owl Theme

This theme is fine-tuned for those of us who really like to code late at night. It comes with both dark (Night Owl) and light theme (Light Owl). The color choices, background, and styling are perfectly suitable for developers who are having difficulties in low-light circumstances. ✨

Night Owl

Light Owl

Here are some of the stats:

  • No. of Installs:  1,463,301 installs
  • Rating: – (119)
  • Current version: v2.0.1 | 7/4/2021 | Free

JellyFish Theme

It is also a beautiful theme. The font (Hermit) and colors used by the theme is easy on the eyes. The colors used by this theme for highlighting code are Aqua Blue, Purple, Dark Yellow, and Pinkish-Red.

Here are some of the stats:

  • No. of Installs: 75,788 installs
  • Rating: – (5)
  • Current version: v0.0.4 | 2/8/2022 | Free

Sublime Material Theme

This is simply a port to align the style of the theme with the default VSCode chrome that cannot be changed atm. It has both dark and light theme options, however it was last update long time ago, in 2016.

Dark Theme

Light Theme

Here are some of the stats:

  • No. of Installs: 568,813 installs
  • Rating: – (25)
  • Current version: v1.0.1 | 11/27/2016 | Free

There are lots of amazing themes in the marketplace and these are just few. Must have themes at least in my opinion. Maybe you have a better choice and if you have any let us know your favorite theme that make you more productive.

If you want to know about best VSCode extensions for 2022 then please read this article.

Top 11 Best VS Code Extensions you Need in 2022!

DigitalOcean New Pricing: July 2022

digital ocean

Prices effective starting July 1, 2022

Users using DigitalOcean Droplets, Snapshots, Load Balancers, Floating IPs, and Custom Images will experience a change in prices starting from July 1, 2022. Details are below.

DO droplet

Introducing a new $4 Droplet 

Droplet priced at $4/month with 1 vCPU, 512MB memory, 500GB bandwidth, and a 10GB SSD. The new Droplet is ideally suited for developers and teams learning new skills and creating proofs of concept and serves as a low-cost, effective graduation path from application development to production deployment.


Load Balancers

New monthly price for load balancers will be $12 per month per node.


DO loadbalancer

DigitalOcean Kubernetes

Managed Kubernetes

Billed for the underlying resources used by their Kubernetes worker nodes, which could include Droplets, Block Storage, and Load Balancers. A Kubernetes cluster can be deployed for as little as $12 per month.

Only public outgoing transfers are considered for bandwidth billing. Transfer limits are calculated by pooling the transfer from all droplets on the account. Overages above pooled transfer will be charged at a rate of $0.01/GB.


Snapshots

New monthly price for Volume Snapshots is $0.06 per GiB per month and Droplet Snapshots is $0.06 per GB per month.


DO Spaces

floating ips

Floating IPs

Floating IPs will be free when assigned to a Droplet and will cost $5.00 per month when reserved but not assigned to a Droplet


Custom Images

Custom images are free to upload and charged at $0.06 GB per month to store.


DO custom image

DO bandwidth

Bandwidth Overages

No changes to bandwidth overage pricing. Each Droplet includes free outbound data transfer, starting at 500 GiB/month and scaling up. Outbound data transfer is shared between all Droplets each billing cycle. Additional transfer is billed at $0.01 per GiB.


Spaces

No change to Spaces pricing. The base rate of a Spaces subscription is $5.00 per month and gives you the ability to create multiple Spaces.

The subscription includes 250 GiB of data storage (cumulative across all of your Spaces). Additional storage beyond this allotment is $0.02 per GiB.

Spaces subscriptions include 1,024 GiB of outbound data transfer (from Spaces to the internet), which is shared between all Spaces. Additional outbound transfer is $0.01 per GiB.


DO blSpaces

DO backups

Backups

No change to backups pricing. Enabling backups for a Droplet adds 20% to the cost of the Droplet.


Volumes

No change to Volumes pricing. Volumes cost $0.10 GiB per month and range from 1 GiB to 16 TiB (16,384 GiB). Charges accrue hourly for as long as the volume exists.


digitalocean volume

app platform

App Platform

No changes to App Platform pricing. Starts at $5.00 per month (for one container).

What’s new in Next.js 12: October 2021

Nextjs 12

Nextjs team has announced its latest addition, Next.js 12, the biggest release ever. Lets look into the improvements and new features that Next.js 12 offers to create and improve your web applications.

Speed test in Nextjs newest version

Faster builds and Fast Refresh with Rust compiler

Optimized bundling and compiling with ~3x faster refresh locally and ~5x faster builds

To improve performance, Next.js replaced the Babel compiler with an extensible Rust compiler — SWC — that takes advantage of native compilation.


Read more

Introducing Middleware

You can modify the response by rewriting, redirecting, adding headers, or even streaming HTML.

You can run code before a request is completed, and based on the request, we can modify the response by rewriting, redirecting, adding headers, etc.

nextjs middleware

NextJs and ReactJS

Preparing for React 18

Zero client-side JavaScript needed

Features including server-side Suspense and SSR streaming support also React Server Components which allow us to render everything, including the components themselves, on the server

URL Imports

You can CDN projects like Skypack and esm.sh in your Next.js app.

You can import directly tooling from the CDN without any extra builds or installs.

skypack

What’s new in Flutter 3: May 2022

Flutter v 3

Flutter transforms the app development process. Build, test, and deploy beautiful mobile, web, desktop, and embedded apps from a single codebase.

Flutter is an open source framework by Google for building beautiful, natively compiled, multi-platform applications from a single codebase.

Fast

Flutter code compiles to ARM or Intel machine code as well as JavaScript, for fast performance on any device.


Try it in DartPad

Multi-Platform

Reach users on every screen

Deploy to multiple devices from a single codebase: mobile, web, desktop, and embedded devices.


See the target platforms

Flutter multiplatform

Developer experience

Developer Experience

Transform your workflow

Take control of your codebase with automated testing, developer tooling, and everything else you need to build production-quality apps.


Flutter for developers

Stable & Reliable

Trusted by many

Flutter is supported and used by Google, trusted by well-known brands around the world, and maintained by a community of global developers.


Explore the ecosystem

Flutter project